


When it comes to producing a strong, reliable weld, welding position matters just as much as the technique or equipment used. Whether you’re working on heavy structural steel or small metal components, understanding different welding positions can make or break the final result.
In this guide, we’ll explain the four basic welding positions and walk you through what makes each one unique.
What Are Welding Positions?
A welding position refers to the orientation of the joint in relation to the ground and the angle at which welding is performed. Since welders rarely work on flat surfaces in perfect conditions, these positions help standardize how different setups are classified, especially when welding in the field, on structural elements, or within tight configurations.
Welding positions directly impact:
- The flow and behavior of molten metal
- Control of the weld pool
- Weld bead formation
- Heat input and cooling
Below is a quick reference chart for the four basic positions:
| Position | Common Code | Work Angle | Typical Use Case |
|---|---|---|---|
| Flat | 1G / 1F | 0° (flat surface) | Base plates, beams, large sheets |
| Horizontal | 2G / 2F | 90° (horizontal plane) | Structural frames, tanks |
| Vertical | 3G / 3F | 90° (vertical plane) | Pipes, walls, uprights |
| Overhead | 4G / 4F | From below | Underside of structures |
Each welding position is designated with a number and a letter:
- Number (1–4) refers to the position
- Letter (G = groove weld, F = fillet weld)
Let’s break down each of these in more detail.
Flat Welding Position (1G / 1F)
The flat welding position is the most common and simplest position to work with. The workpiece lies on a flat surface, and the welding torch is applied directly over the joint. Gravity works in the welder’s favor, keeping the molten weld pool stable and easy to control.
Common Applications
- Large plates
- Structural steel components
- Fabrication of base assemblies
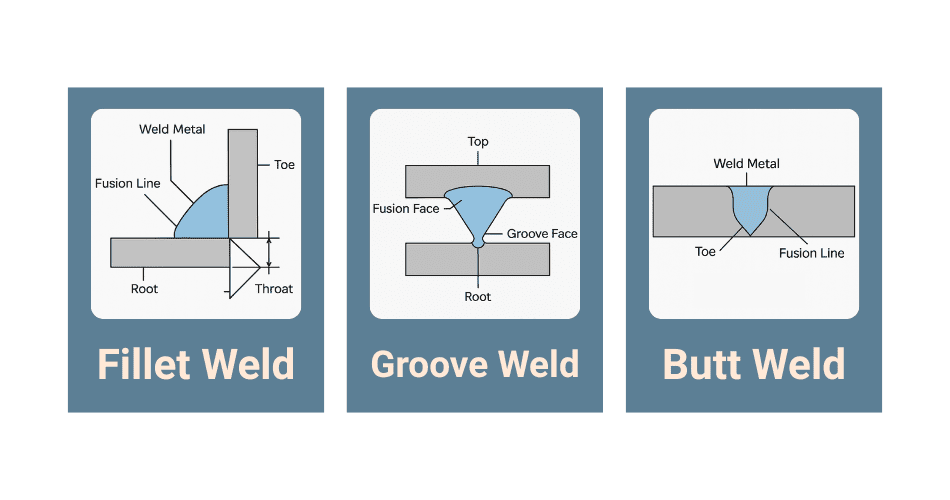
Weld Types
- Fillet welds: Joining two surfaces at a 90-degree angle
- Groove welds: Filling in a joint between two edges
- Butt welds: Connecting two metal pieces end-to-end
Advantages
- Easier control over welding torch and weld pool
- Faster travel speeds
- Cleaner weld bead appearance
- Lower skill requirement
For high-production environments, the flat position offers reliable performance with fewer variables to manage.
Horizontal Welding Position (2G / 2F)
In the horizontal position, the workpiece is positioned vertically, but the weld is performed along a horizontal axis. This introduces new complexity, as gravity pulls the molten metal downward, increasing the risk of sagging or uneven beads.
Groove vs Fillet in Horizontal Welding
| Type | Description | Difficulty |
|---|---|---|
| 2F Fillet | Welds along a horizontal T-joint | Moderate |
| 2G Groove | Groove welds between vertical plates | More challenging |
Challenges
- Preventing weld bead sag
- Controlling heat input and puddle movement
- Maintaining torch angle consistency
Applications
- Pipe welding
- Tank seams
- Industrial frame assemblies
Horizontal welding is commonly used in industrial plants, especially where materials are fixed in place and can’t be repositioned.
Vertical Welding Position (3G / 3F)
The vertical welding position requires welding up or down along a vertical plane. This position demands more control due to gravity trying to pull the molten metal down and away from the weld joint.
Techniques
- Vertical-up welding: More penetration, slower, used for thicker materials
- Vertical-down welding: Faster, less penetration, ideal for thin materials
Unique Challenges
- Heat management to avoid burn-through
- Precise weld torch manipulation
- Careful control of the weld pool
Applications
- Steel structures
- Vertical piping systems
- Load-bearing components
Vertical welds require more skill, particularly for projects that involve out-of-position welds or must meet exact structural tolerances.
Overhead Welding Position (4G / 4F)
The overhead welding position is exactly what it sounds like: welding from below the workpiece. Gravity pulls the molten weld pool downward, meaning the welder must be extra careful to avoid dripping metal and maintain a stable weld bead.
Overhead Welding Considerations
- Fatigue from prolonged upward positioning
- Need for tighter control of filler metal
- Slower travel speeds
- Higher chance of defects if rushed
Common Applications
- Bridge and ceiling structures
- Underside of pipelines
- Maintenance in confined spaces
This position requires training and experience. Welders must use short arc techniques, tightly control welding parameters, and understand how to handle molten metal without introducing flaws.
Welding Position Codes Explained
If you’re referencing documentation or weld procedures, you’ll come across codes like 1G, 2F, etc. Here’s what they mean:
| Code | Position | Weld Type | Details |
|---|---|---|---|
| 1G | Flat | Groove | Flat surface, groove joint |
| 1F | Flat | Fillet | Flat surface, T-joint |
| 2G | Horizontal | Groove | Weld axis horizontal |
| 2F | Horizontal | Fillet | On a vertical member |
| 3G | Vertical | Groove | Vertical weld, up/down |
| 3F | Vertical | Fillet | Vertical T-joint |
| 4G | Overhead | Groove | Overhead surface, groove weld |
| 4F | Overhead | Fillet | Overhead T-joint |
Understanding these codes helps in specifying welding procedures and testing welder qualifications.
Tips for Welding in Different Positions
Mastering multiple positions takes time, but these tips can help:
Adjust Based on Position
| Position | Work Angle | Travel Angle Range |
|---|---|---|
| Flat | 90° | 5–15° push/drag |
| Horizontal | 90° | 0–15° uphill/downhill |
| Vertical | 45° | 10–15° push angle |
| Overhead | 90° (upward) | 5–10° drag angle |
Best Practices
- Always tune your welding parameters to the position
- Maintain a consistent weld axis
- Pre-test on scrap if switching from flat to vertical or overhead
- Use positioners and clamps when possible for stability
Common Mistakes by Welding Position
Even skilled welders make mistakes, especially when switching between various welding positions:
- Flat: Traveling too fast, leading to undercut
- Horizontal: Allowing the bead to sag or flatten
- Vertical: Overheating and creating excessive spatter
- Overhead: Poor control of puddle leads to drip-through or porosity
Knowing how the work angle, material thickness, and joint design affect each weld will help reduce defects and save time.
When to Use Robotic Welding for Out-of-Position Welds
Not all welding has to be manual. In situations that require long hours of uncomfortable welding or ultra-consistent outputs, robotic welding can be a smart solution.
At EZG, we use the FANUC 120ic Robotic Welding Cell for high-quantity and complex out-of-position welds. It reduces fatigue-related mistakes and delivers clean, repeatable results for intricate assemblies.
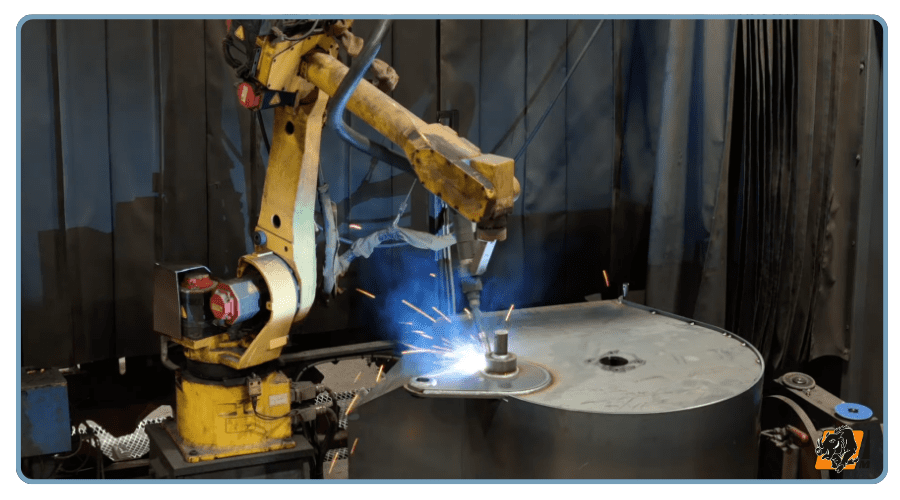
Robotic welding is especially useful for:
- Repetitive parts with multiple weld positions
- High-volume jobs requiring consistent quality
- Complex joints where manual access is limited
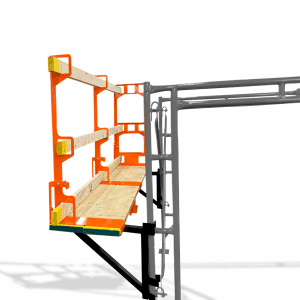
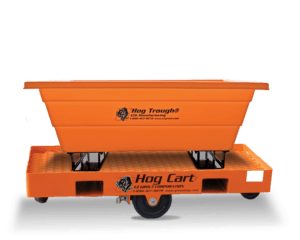
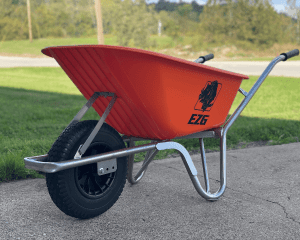
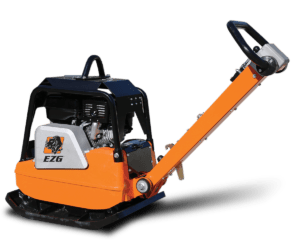
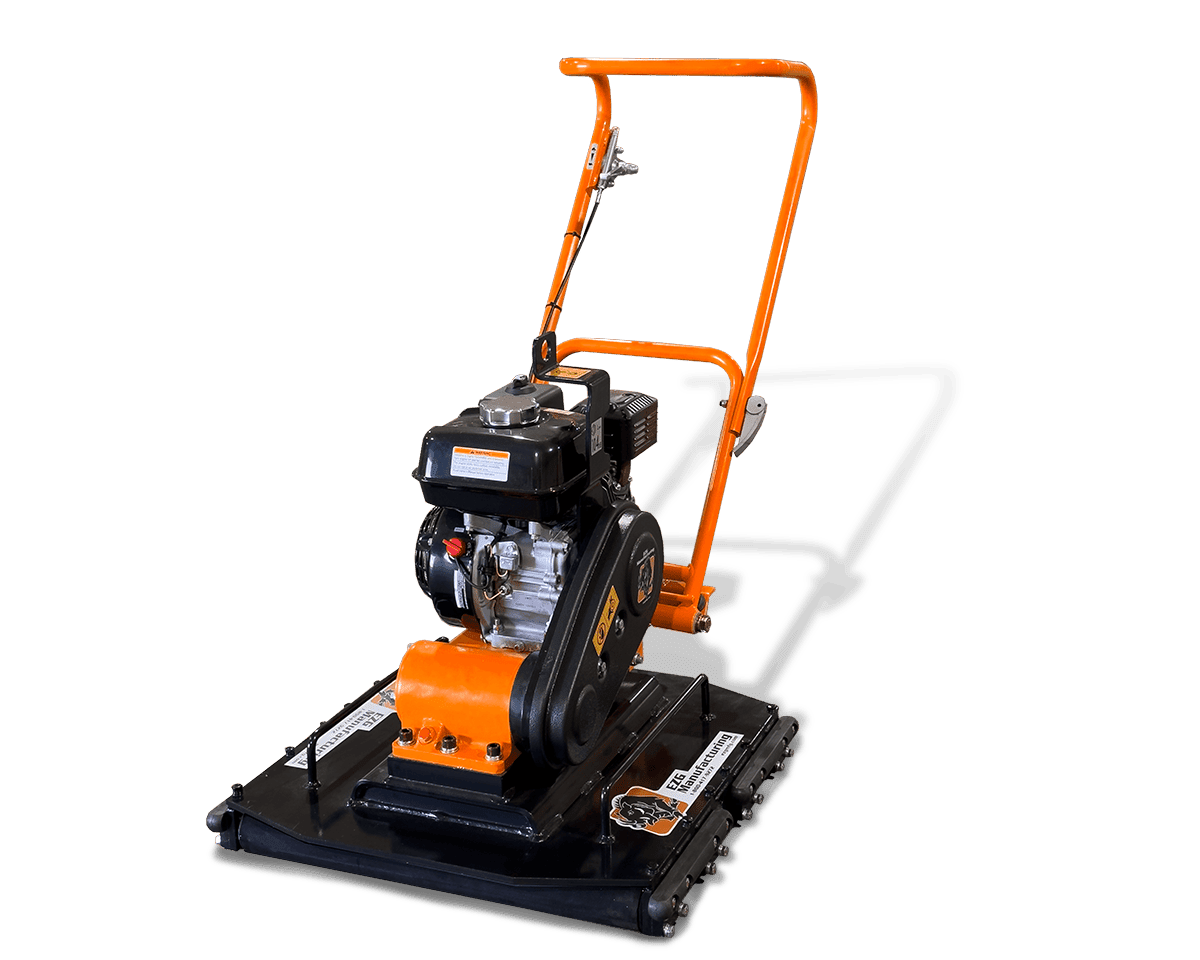
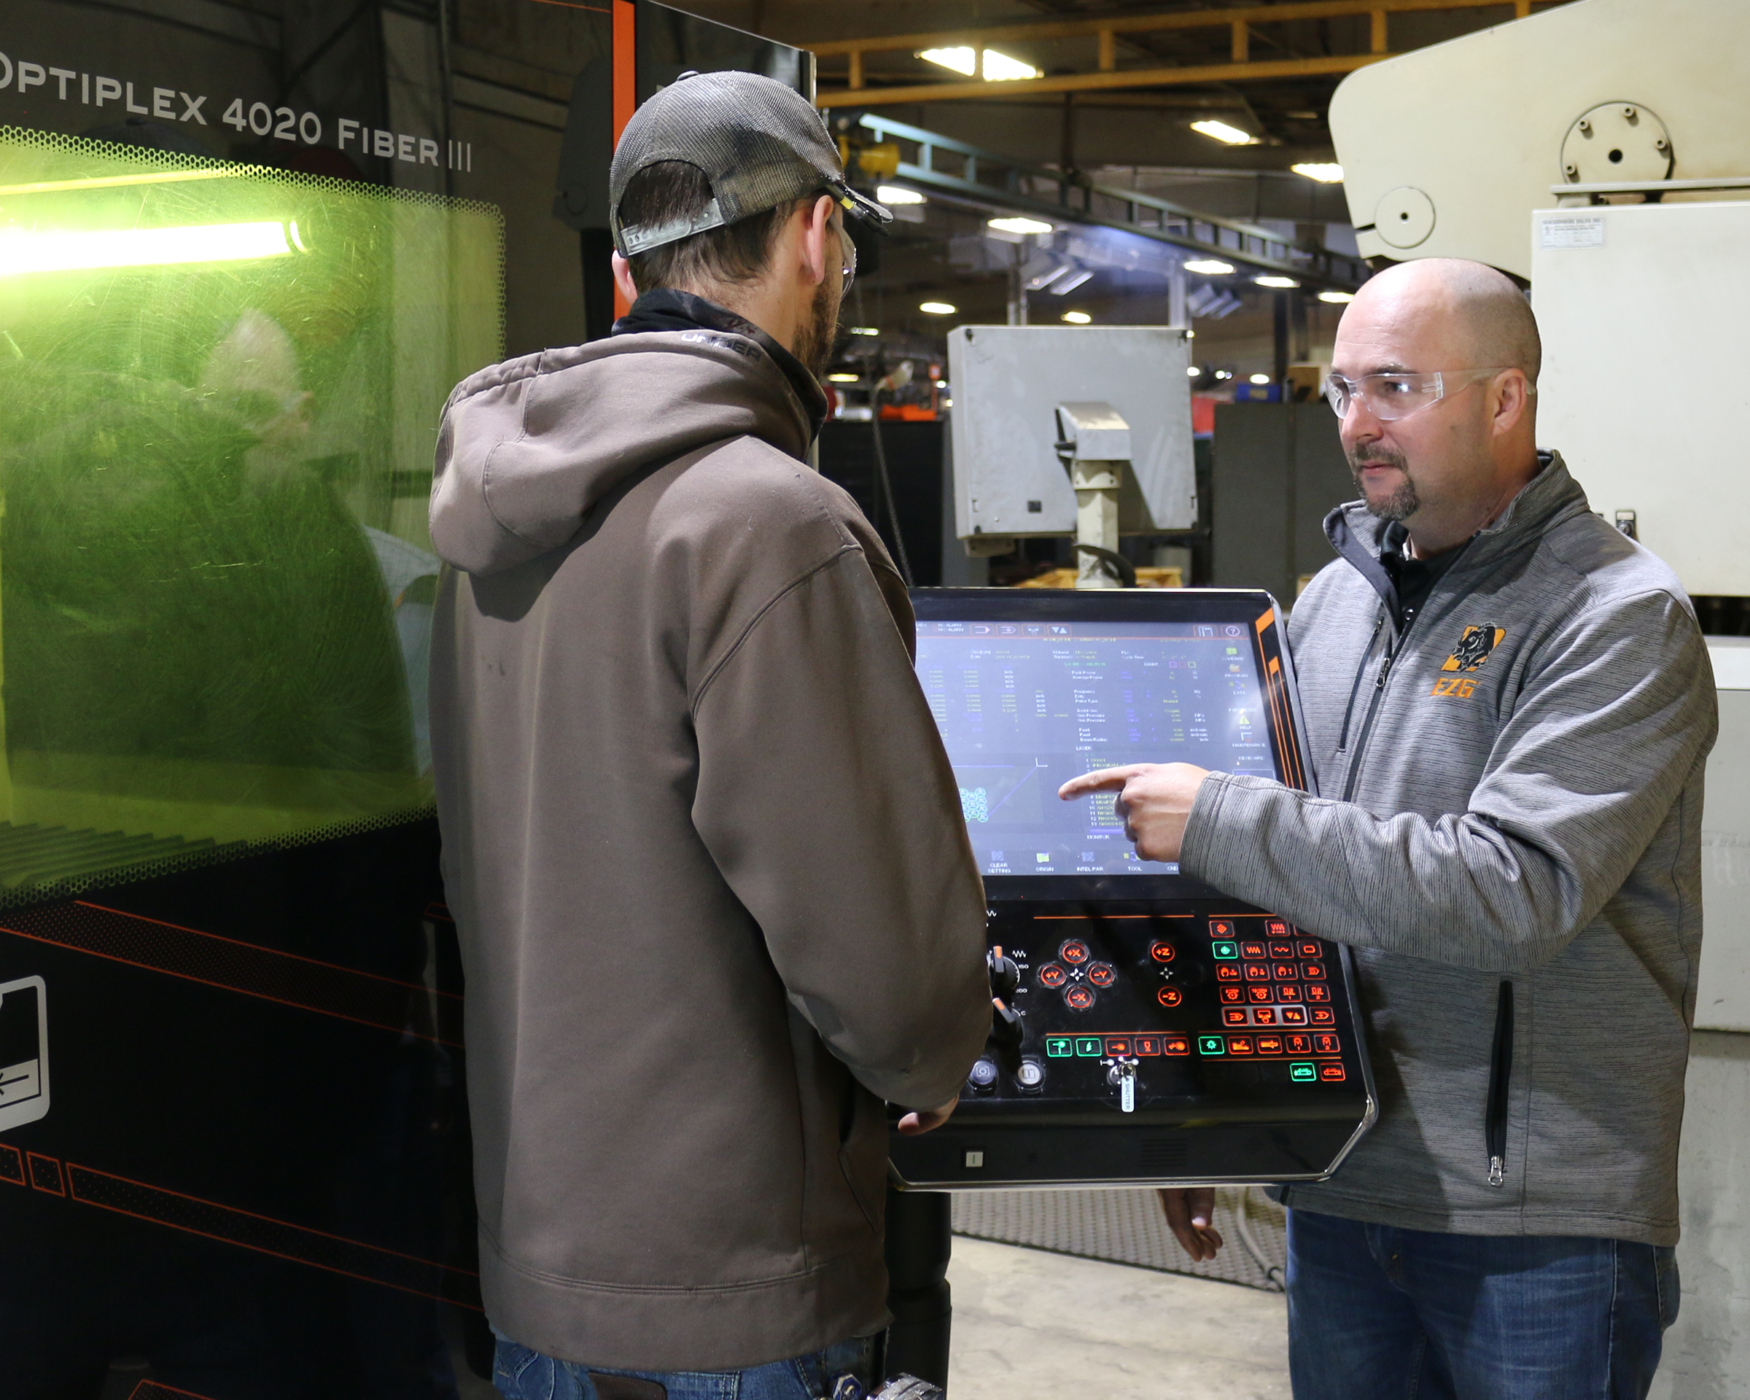
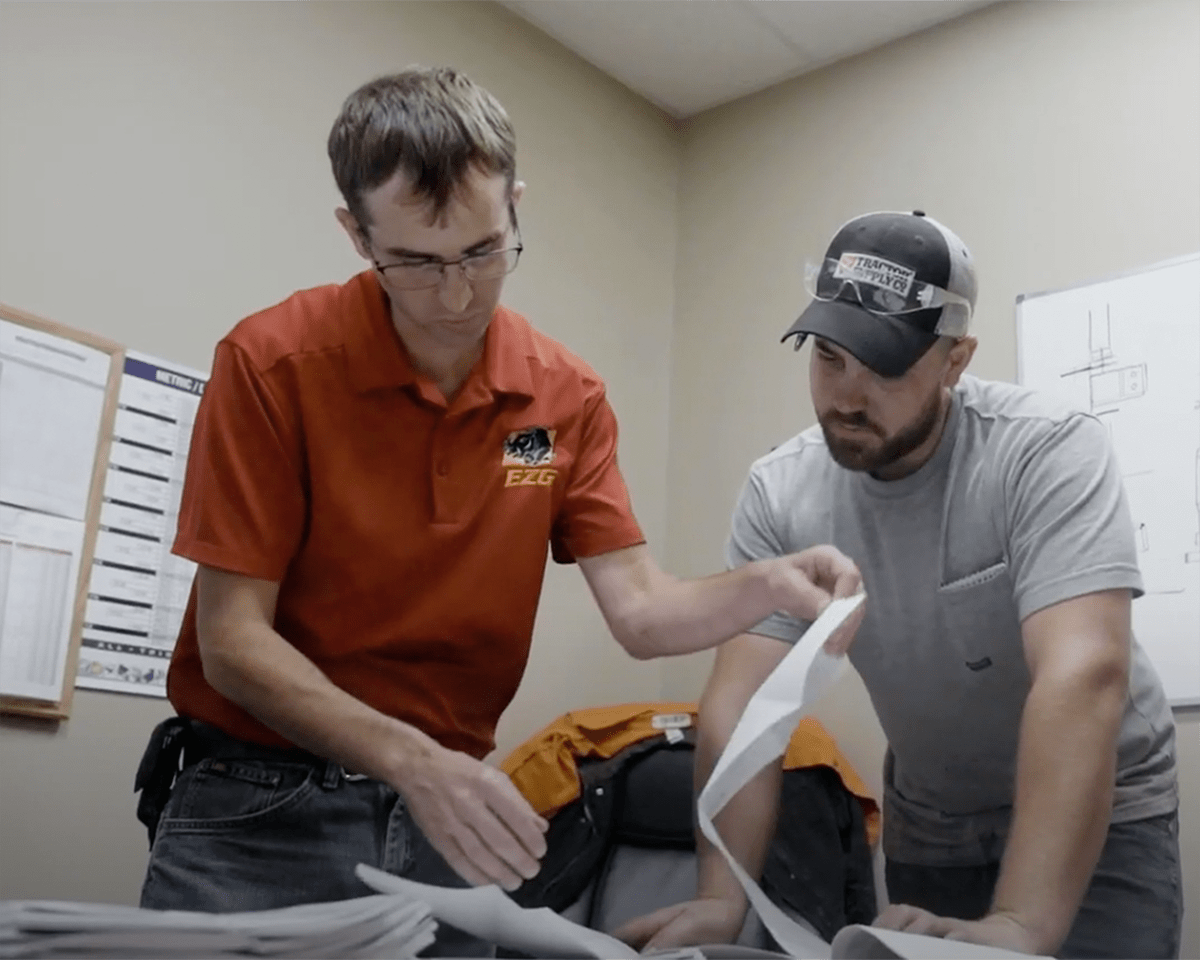
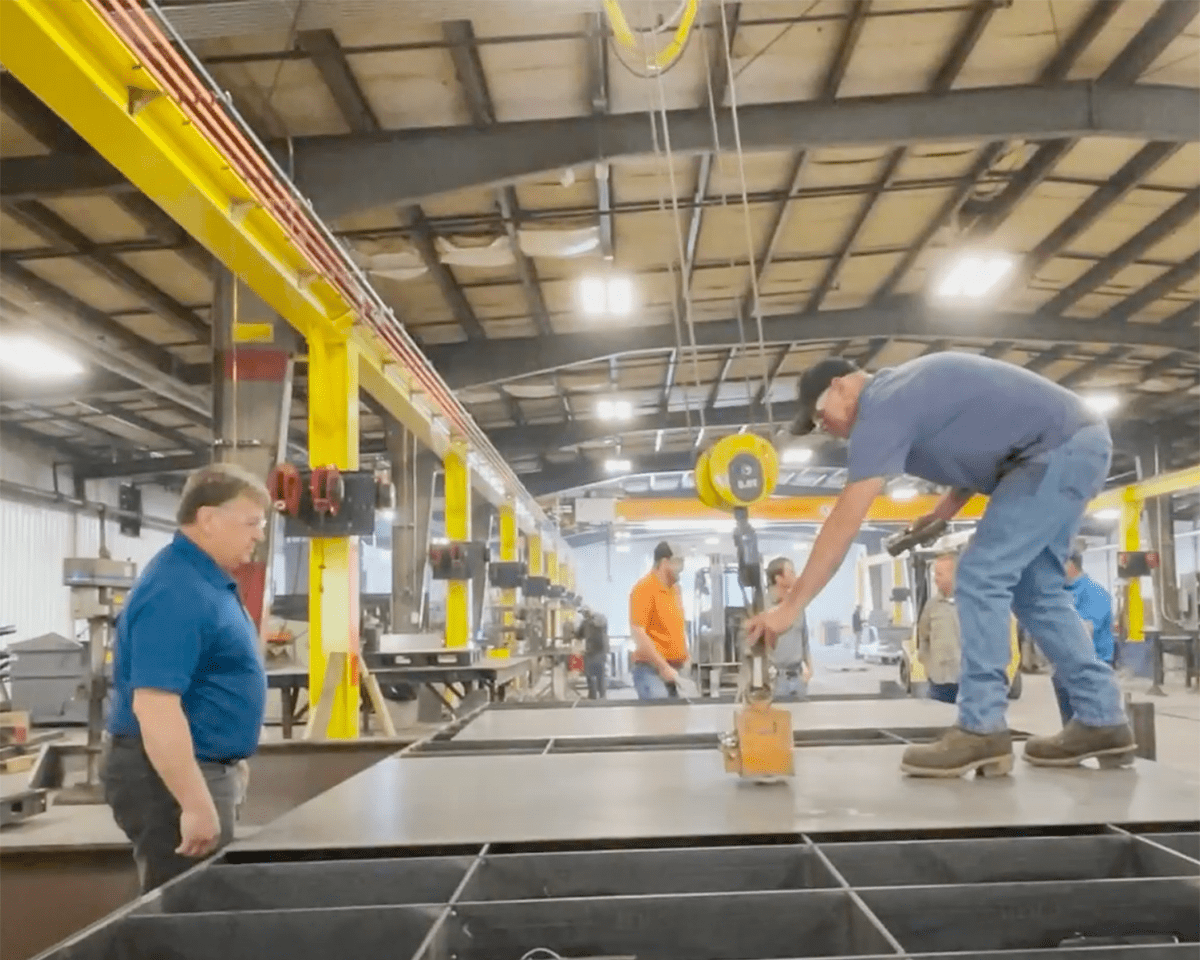
Welding Services from EZG Manufacturing
At EZG Manufacturing, welding is more than just joining two metal parts, it’s about solving real-world problems with skill, precision, and durability.
Our team includes AWS-certified welders trained in MIG, TIG, manual, and robotic welding, capable of working across all welding positions. Whether it’s a one-off prototype or large-scale production, we’ve built the infrastructure and expertise to support nearly any welding need, in-house, under one roof.
We work with carbon steel, stainless, aluminum, and specialty alloys, and we don’t shy away from challenging geometries or out-of-position welds. From structural steel to precision metal components, our goal is simple: deliver welds that last.
Looking for high-quality welds?
Contact us to talk about your next welding project.
