


A new paver patio or walkway makes a strong first impression. But once the installation is complete, cleaning the surface the right way is just as important as laying each stone correctly. The wrong approach can damage pavers and reduce the lifespan of the project.
With the right cleaning method, safe cleaning products, and a little elbow grease, you can keep pavers looking sharp while preserving their durability. Contractors who hand over a job with a freshly cleaned surface not only leave customers satisfied but also boost the aesthetic appeal and long-term value of the outdoor space.
Understanding Paver Types and Surfaces
Paver cleaning methods should match the surface material, since some products and tools that work on concrete can damage natural stone or porcelain. Before scrubbing away stains, it’s important to know what you’re working with.
Common Paver Types
- Concrete Pavers: Durable and widely used for patios, driveways, and walkways. Can handle most cleaning methods, but abrasive brushes or high pressure can wear down the surface.
- Natural Stone Pavers: Includes limestone, granite, sandstone, and slate. More porous and sensitive to chemicals. Require milder cleaners and softer scrubbing.
- Porcelain Pavers: Low-maintenance, non-porous, and resistant to staining. Usually cleaned with only mild dish soap and warm water.
Paver Surfaces vs. Recommended Cleaning Approaches
| Paver Type | Recommended Method | Avoid Using | Notes |
|---|---|---|---|
| Concrete Paver | Mild detergent + stiff bristle brush | Harsh chemicals, wire brush | Use warm water and simple steps for routine cleaning |
| Natural Stone | Specialized paver cleaner for stone | Muriatic/hydrochloric acid | Softer surface, prone to scratches and etching |
| Porcelain | Dish soap + soft brush | Abrasive cleaners | Easy to maintain with regular cleaning and minimal scrubbing needed |
Step-by-Step: How to Clean Pavers Safely
Cleaning pavers doesn’t require expensive tools or harsh chemicals. It’s about following a structured process that removes dirt and stains without damaging the surface.
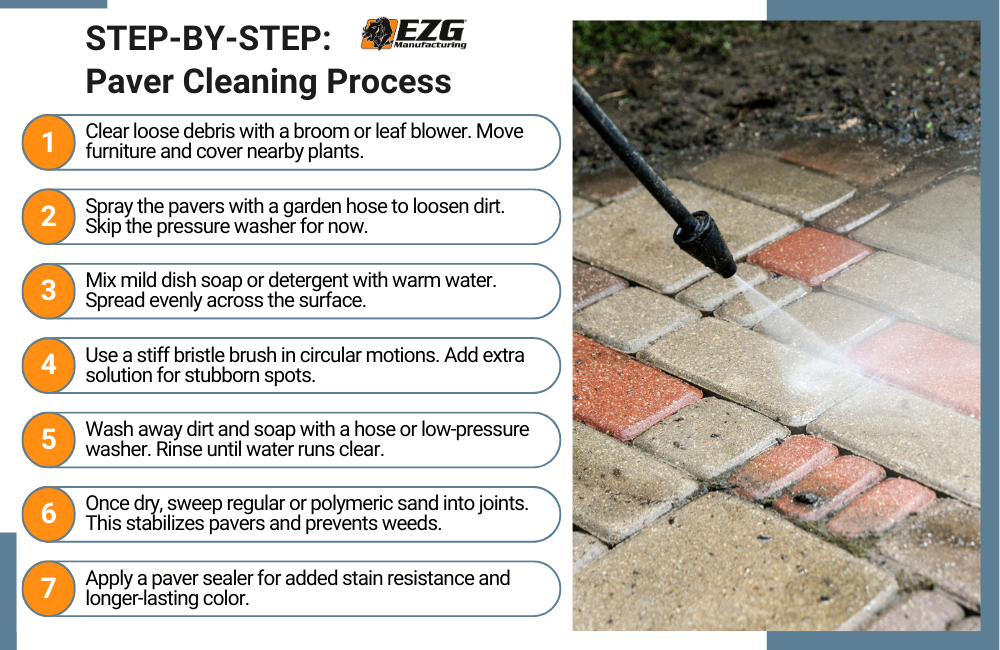
Step 1: Preparation
Before applying any cleaning product, take a few minutes to prepare the work area. A clean surface and clear surroundings make the rest of the process easier.
- Start by removing loose debris like leaves, twigs, or dirt with a broom or leaf blower.
- Move patio furniture, planters, or grills out of the way so you can access every paver.
- Protect landscaping or grass edges with plastic sheeting if you’re using a cleaning solution, since even mild soap can affect delicate plants.
Taking time to prepare ensures the cleaning solution can reach the paver surface directly instead of getting blocked by debris.
Step 2: Rinse Surface
Spray the patio, driveway, or walkway with a garden hose and clean water. This first rinse helps loosen dirt and prevents dust from settling into the surface. Avoid using a pressure washer at this stage, as high pressure can dislodge joint sand before you even begin scrubbing.
Step 3: Apply Cleaning Solution
Choosing the right solution is important. Too harsh and you risk damage, too weak and stains won’t budge. A simple mixture often works best.
- Combine mild dish soap or mild detergent with warm water in a bucket.
- Pour, mop, or spray the mixture evenly over the pavers so the entire surface is covered.
- For stubborn stains, like oil, rust, or algae, upgrade to a specialized paver cleaner that matches the surface type (concrete, stone, or porcelain).
Allow the solution a few minutes to penetrate before moving on. This “soak time” helps loosen grime so less scrubbing is needed later.
Step 4: Scrubbing
Scrubbing is where the bulk of the work happens. Done right, it removes dirt without scratching or weakening the surface.
- Use a stiff bristle brush to scrub the surface in circular motions.
- For tough stains, apply more solution and give it time to soak before scrubbing.
- Avoid wire brushes, especially on natural stone or porcelain pavers, since they can scratch and damage the surface.
A little elbow grease goes a long way here. Contractors know that consistent, even scrubbing makes more difference than pouring on extra chemicals.
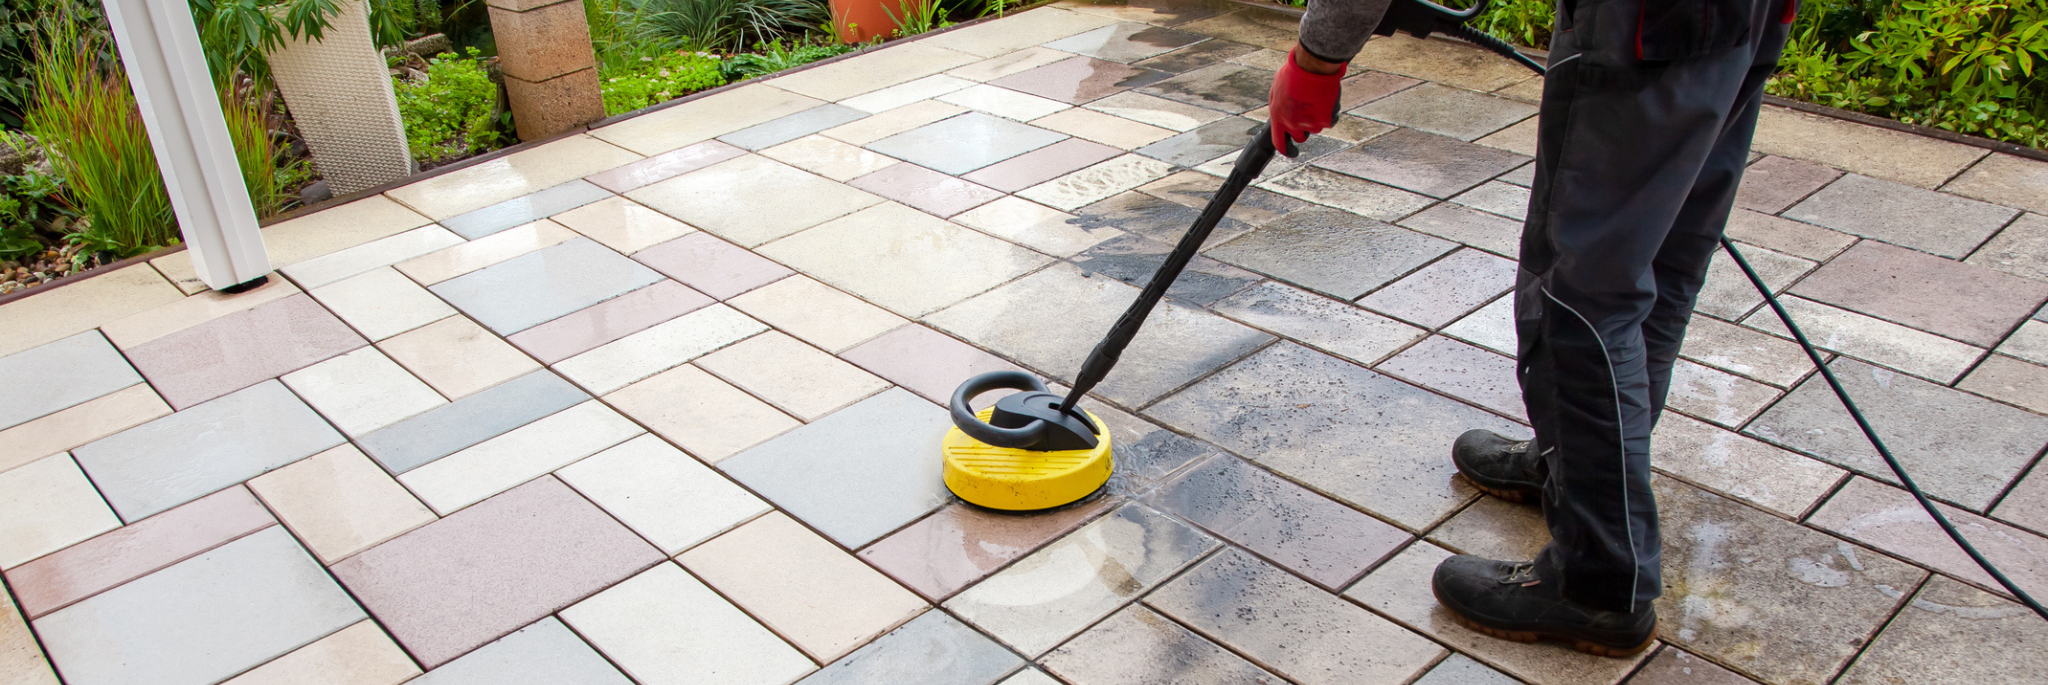
Step 5: Rinse Thoroughly
Once scrubbing is complete, rinsing is the step that restores a fresh, clean look to the pavers. Spray the area with a garden hose to wash away soap, dirt, and debris. On larger patios or driveways, a power washer can be used, but it should always be kept on a low setting and used according to the manufacturer’s instructions for spray distance and pressure. Applying too much force can etch the surface or push out joint sand, which can leave the patio unstable. Continue rinsing until the water runs clear to make sure no residue is left behind.
Step 6: Re-Sand the Joints
After rinsing, you may notice gaps where sand has been washed out from between the pavers. Re-sanding is an important step that keeps the installation strong.
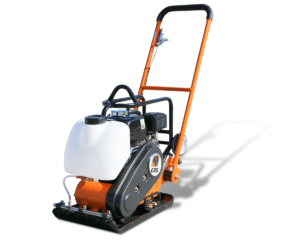
- Allow the surface to dry completely before sanding. Wet sand won’t settle properly.
- Sweep regular sand or polymeric sand across the surface so it fills the joints evenly.
- Tap lightly with a broom handle or plate compactor to help the sand settle in.
Proper joint sanding prevents shifting, discourages weeds, and maintains a uniform look for the entire patio or walkway.
Step 7: Optional Sealing
While not always required, sealing provides an extra layer of protection and gives the project a polished finish.
- Choose a paver sealer appropriate for the surface. Some are designed for concrete, while others are formulated for natural stone or porcelain.
- Apply the sealer evenly once the pavers are completely dry.
- Sealers can help preserve color, resist stains, and protect against weathering.
Although sealing takes extra time, it can be a worthwhile upsell for contractors and a strong long-term benefit for the customer.
Handling Specific Stains and Problems
Even with regular cleaning, some stains require targeted methods. In many cases, these marks come from everyday use, but they can also result from the construction process itself, rust from tools, oil drips from equipment, or tire marks left by machinery. Contractors should be ready to address these issues before turning the project over to the client.
Rust Stains
Rust stains are common when metal tools, wheelbarrows, or rebar come into contact with damp surfaces.
- Use a specialized rust stain remover.
- Rinse thoroughly afterward.
- Avoid acid-based products on natural stone.
Oil & Grease
Oil spots often come from machinery or vehicles used during installation.
- Absorb with cat litter or sawdust before scrubbing.
- Clean with dish soap and warm water.
- Repeat as needed for tough stains.
Moss & Algae
- Scrub with a stiff brush and mild detergent.
- Rinse thoroughly with clean water.
- Avoid bleach unless absolutely necessary—it can damage nearby plants and discolor pavers.
Tire Marks & Paint
Tire marks from construction equipment or paint overspray from site work are not uncommon.
- Use mild dish soap and warm water.
- Scrub with steady elbow grease and rinse.
- For persistent marks, apply a specialized paver cleaner.
Common Stains & Safe Cleaning Solutions
| Stain Type | Recommended Cleaning Method | Avoid Using |
|---|---|---|
| Rust Stain | Specialized cleaner, rinse thoroughly | Muriatic acid on natural stone |
| Oil & Grease | Absorb + dish soap scrub | High-pressure washing too close |
| Moss/Algae | Stiff brush + mild detergent | Harsh chemicals or bleach |
| Tire Marks | Warm water + dish soap + scrubbing | Wire brush, abrasive methods |
Common Mistakes to Avoid
A safe cleaning process means knowing what not to do.
- Using harsh chemicals like muriatic or hydrochloric acid on natural stone causes permanent etching.
- Overusing a pressure washer, which can scar surfaces and blow out sand joints.
- Skipping the re-sanding step, which weakens the paver structure.
- Ignoring manufacturer’s instructions for cleaning products or sealing agents.
- Using a wire brush, which scratches delicate surfaces and leaves permanent marks.
Regular Maintenance Tips for Contractors & Homeowners
Proper cleaning doesn’t stop after installation day. Regular upkeep helps protect the surface and prevents costly repairs down the road. Contractors can share these tips with clients to encourage long-lasting results.
Routine Maintenance Checklist
- Sweep pavers weekly with a broom or use a leaf blower to remove loose dirt and debris.
- Rinse with a garden hose as needed to wash away dust and pollen.
- Spot-clean stains with mild dish soap and warm water before they set.
- Re-sand joints with polymeric sand if gaps or erosion appear.
- Inspect regularly for moss or weeds and address early.
- Perform a thorough cleaning once or twice a year, depending on traffic and climate.
Regular cleaning and maintenance not only preserve curb appeal but also demonstrate the value of the contractor’s work.
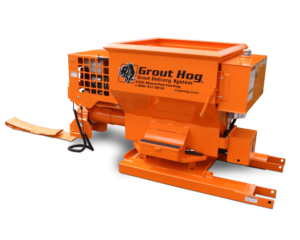
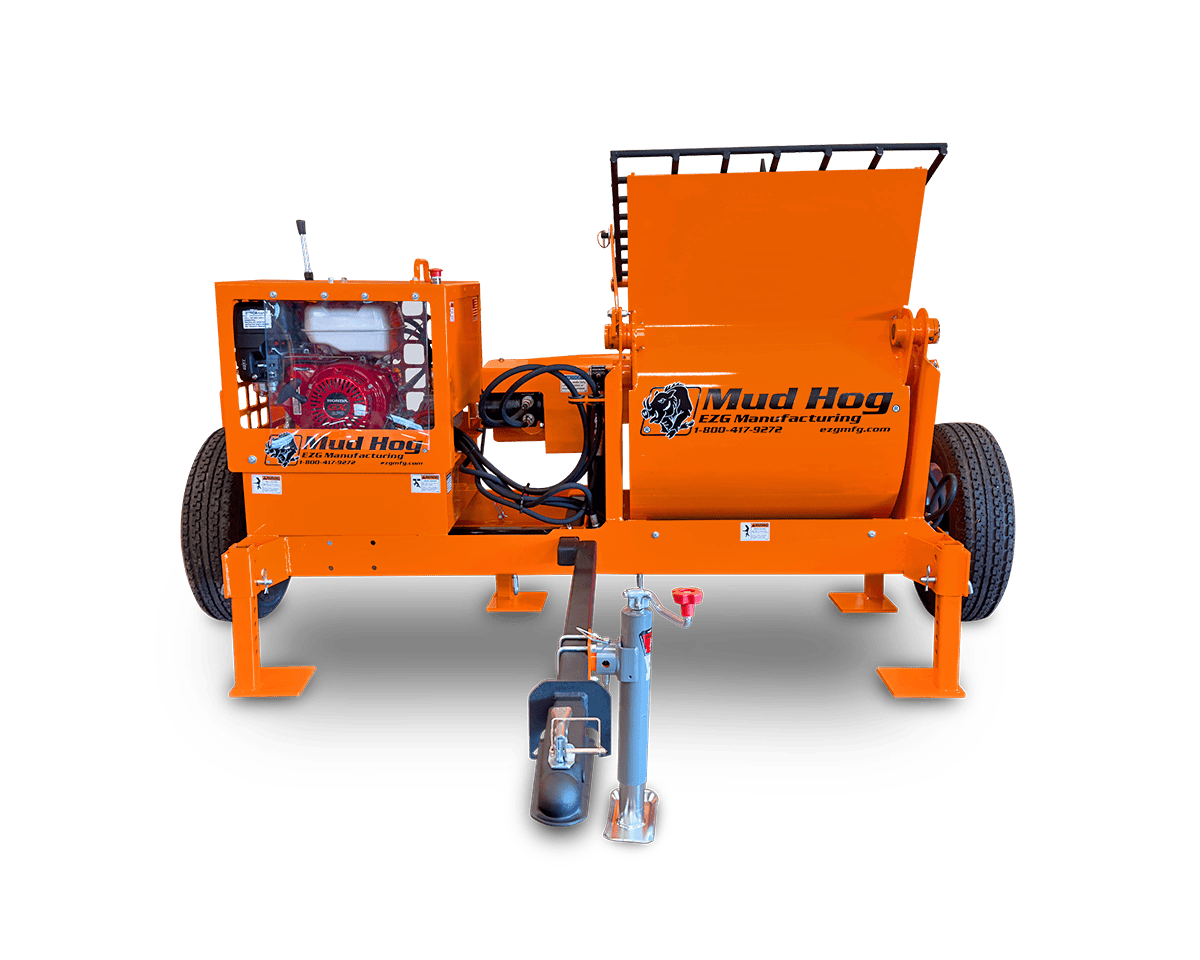
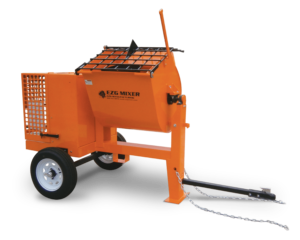
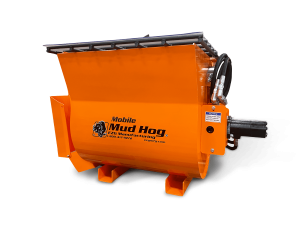
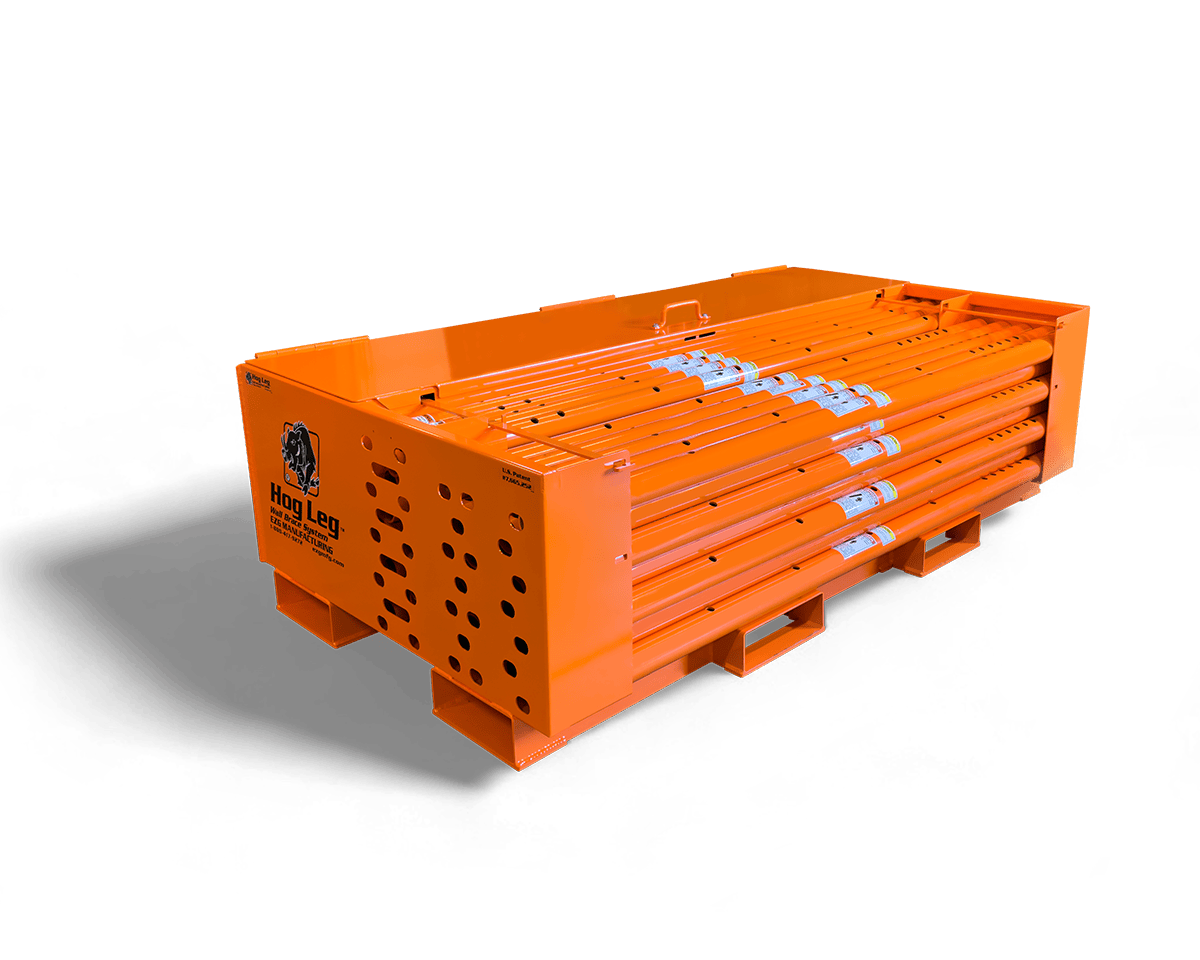
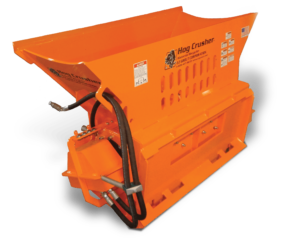
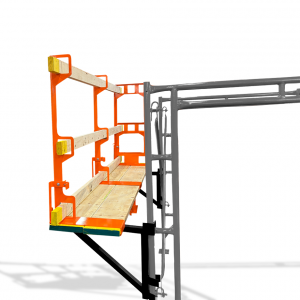
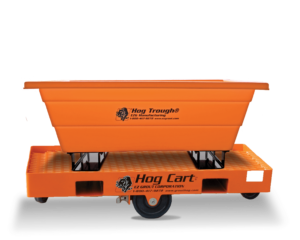
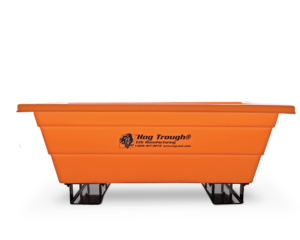
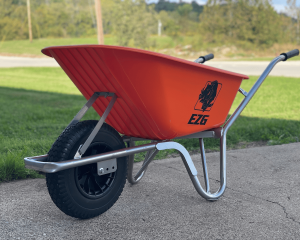
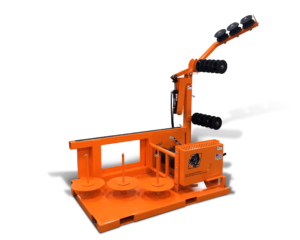
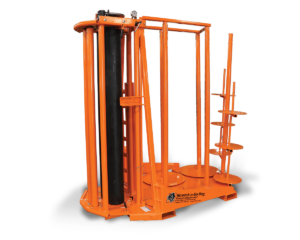
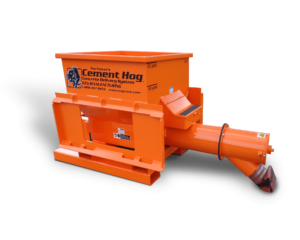
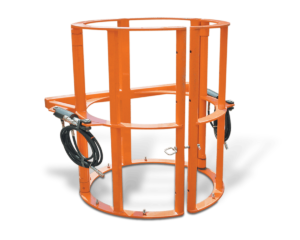
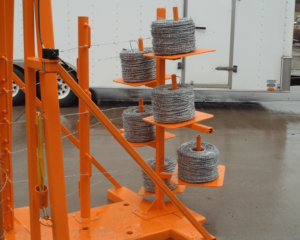
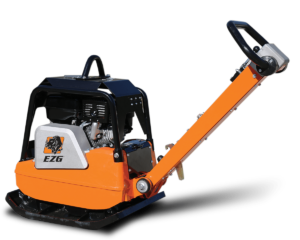
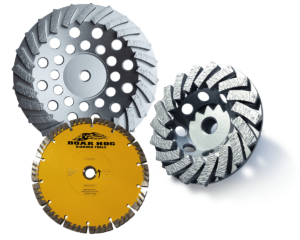
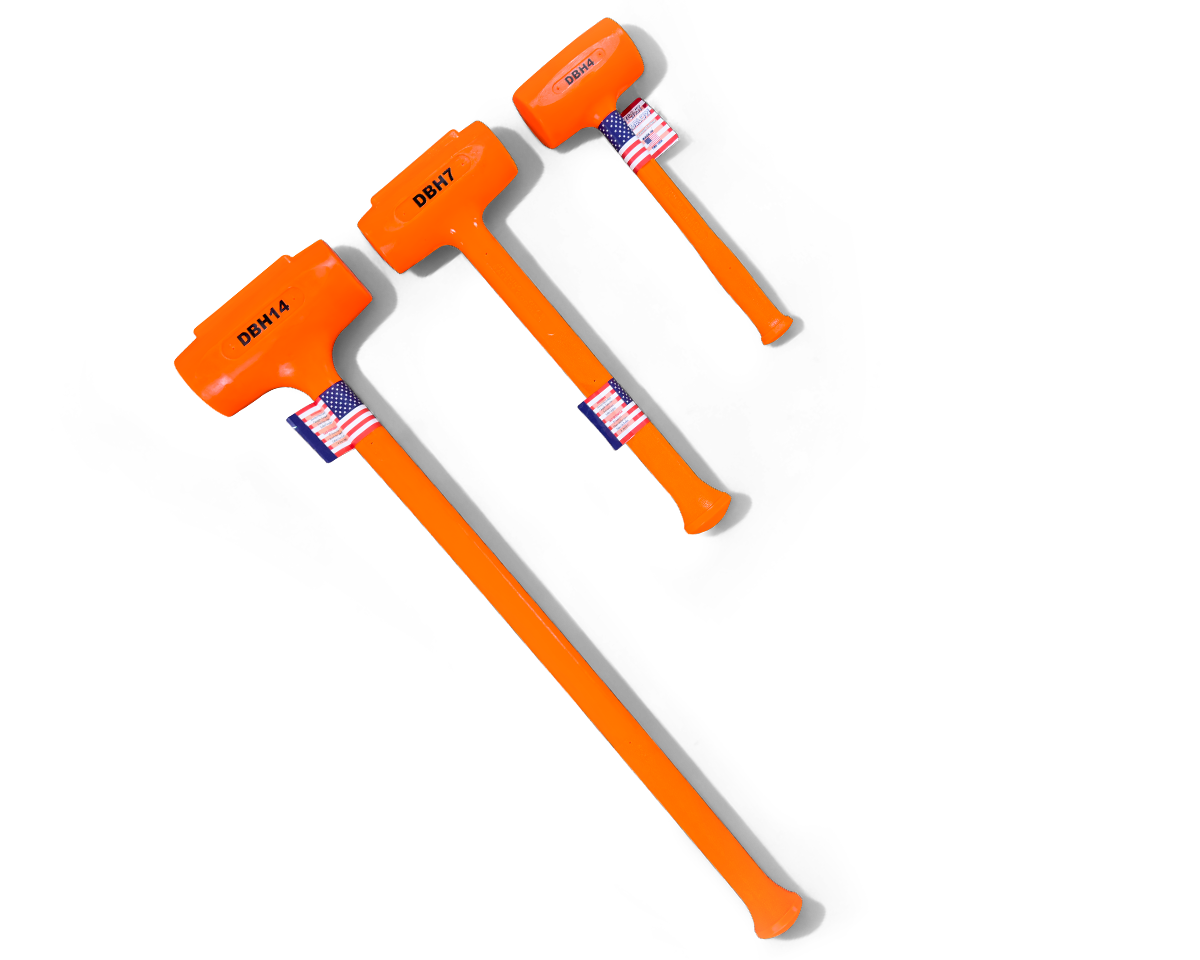
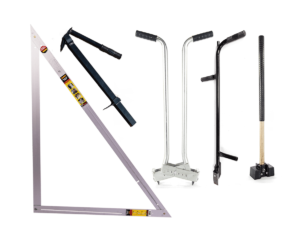
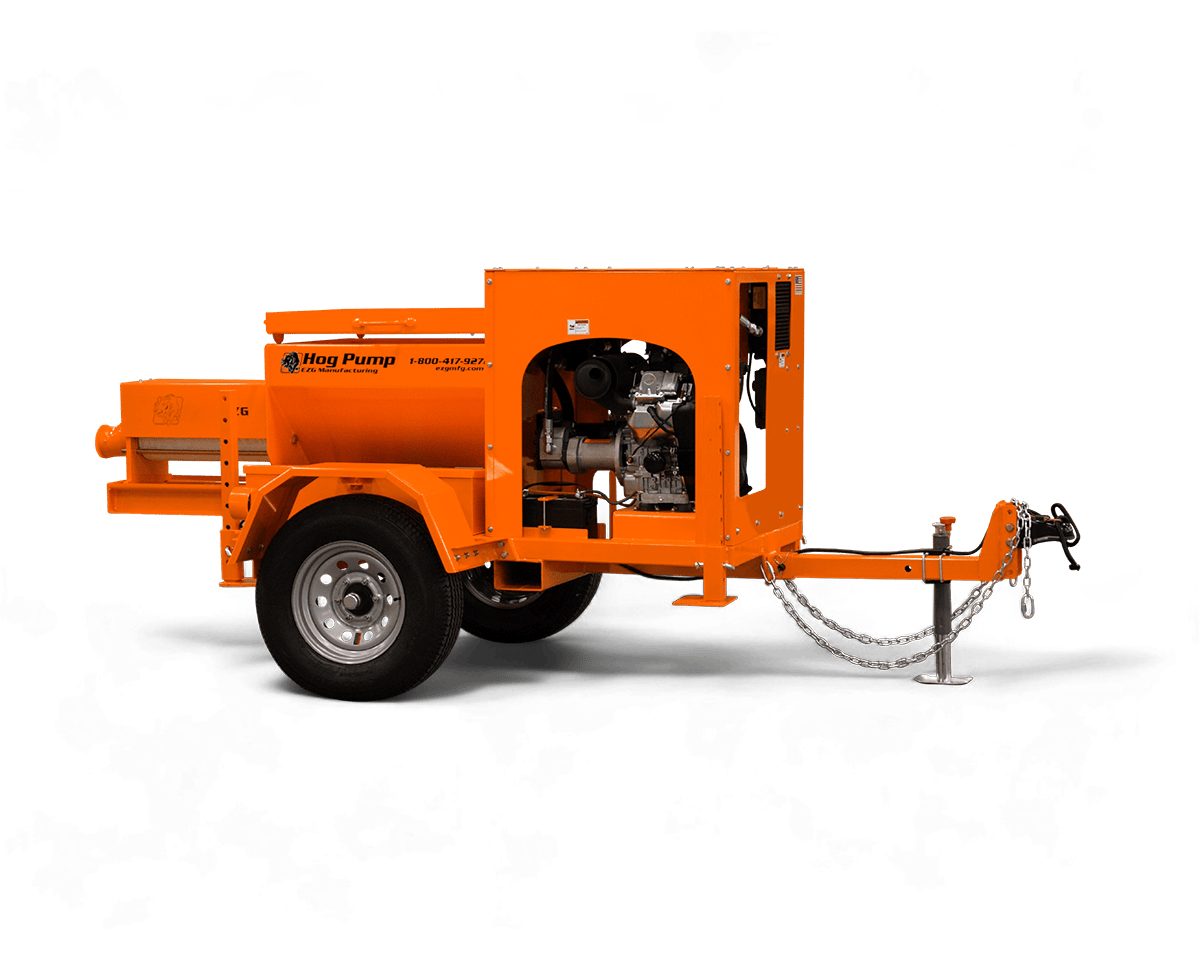
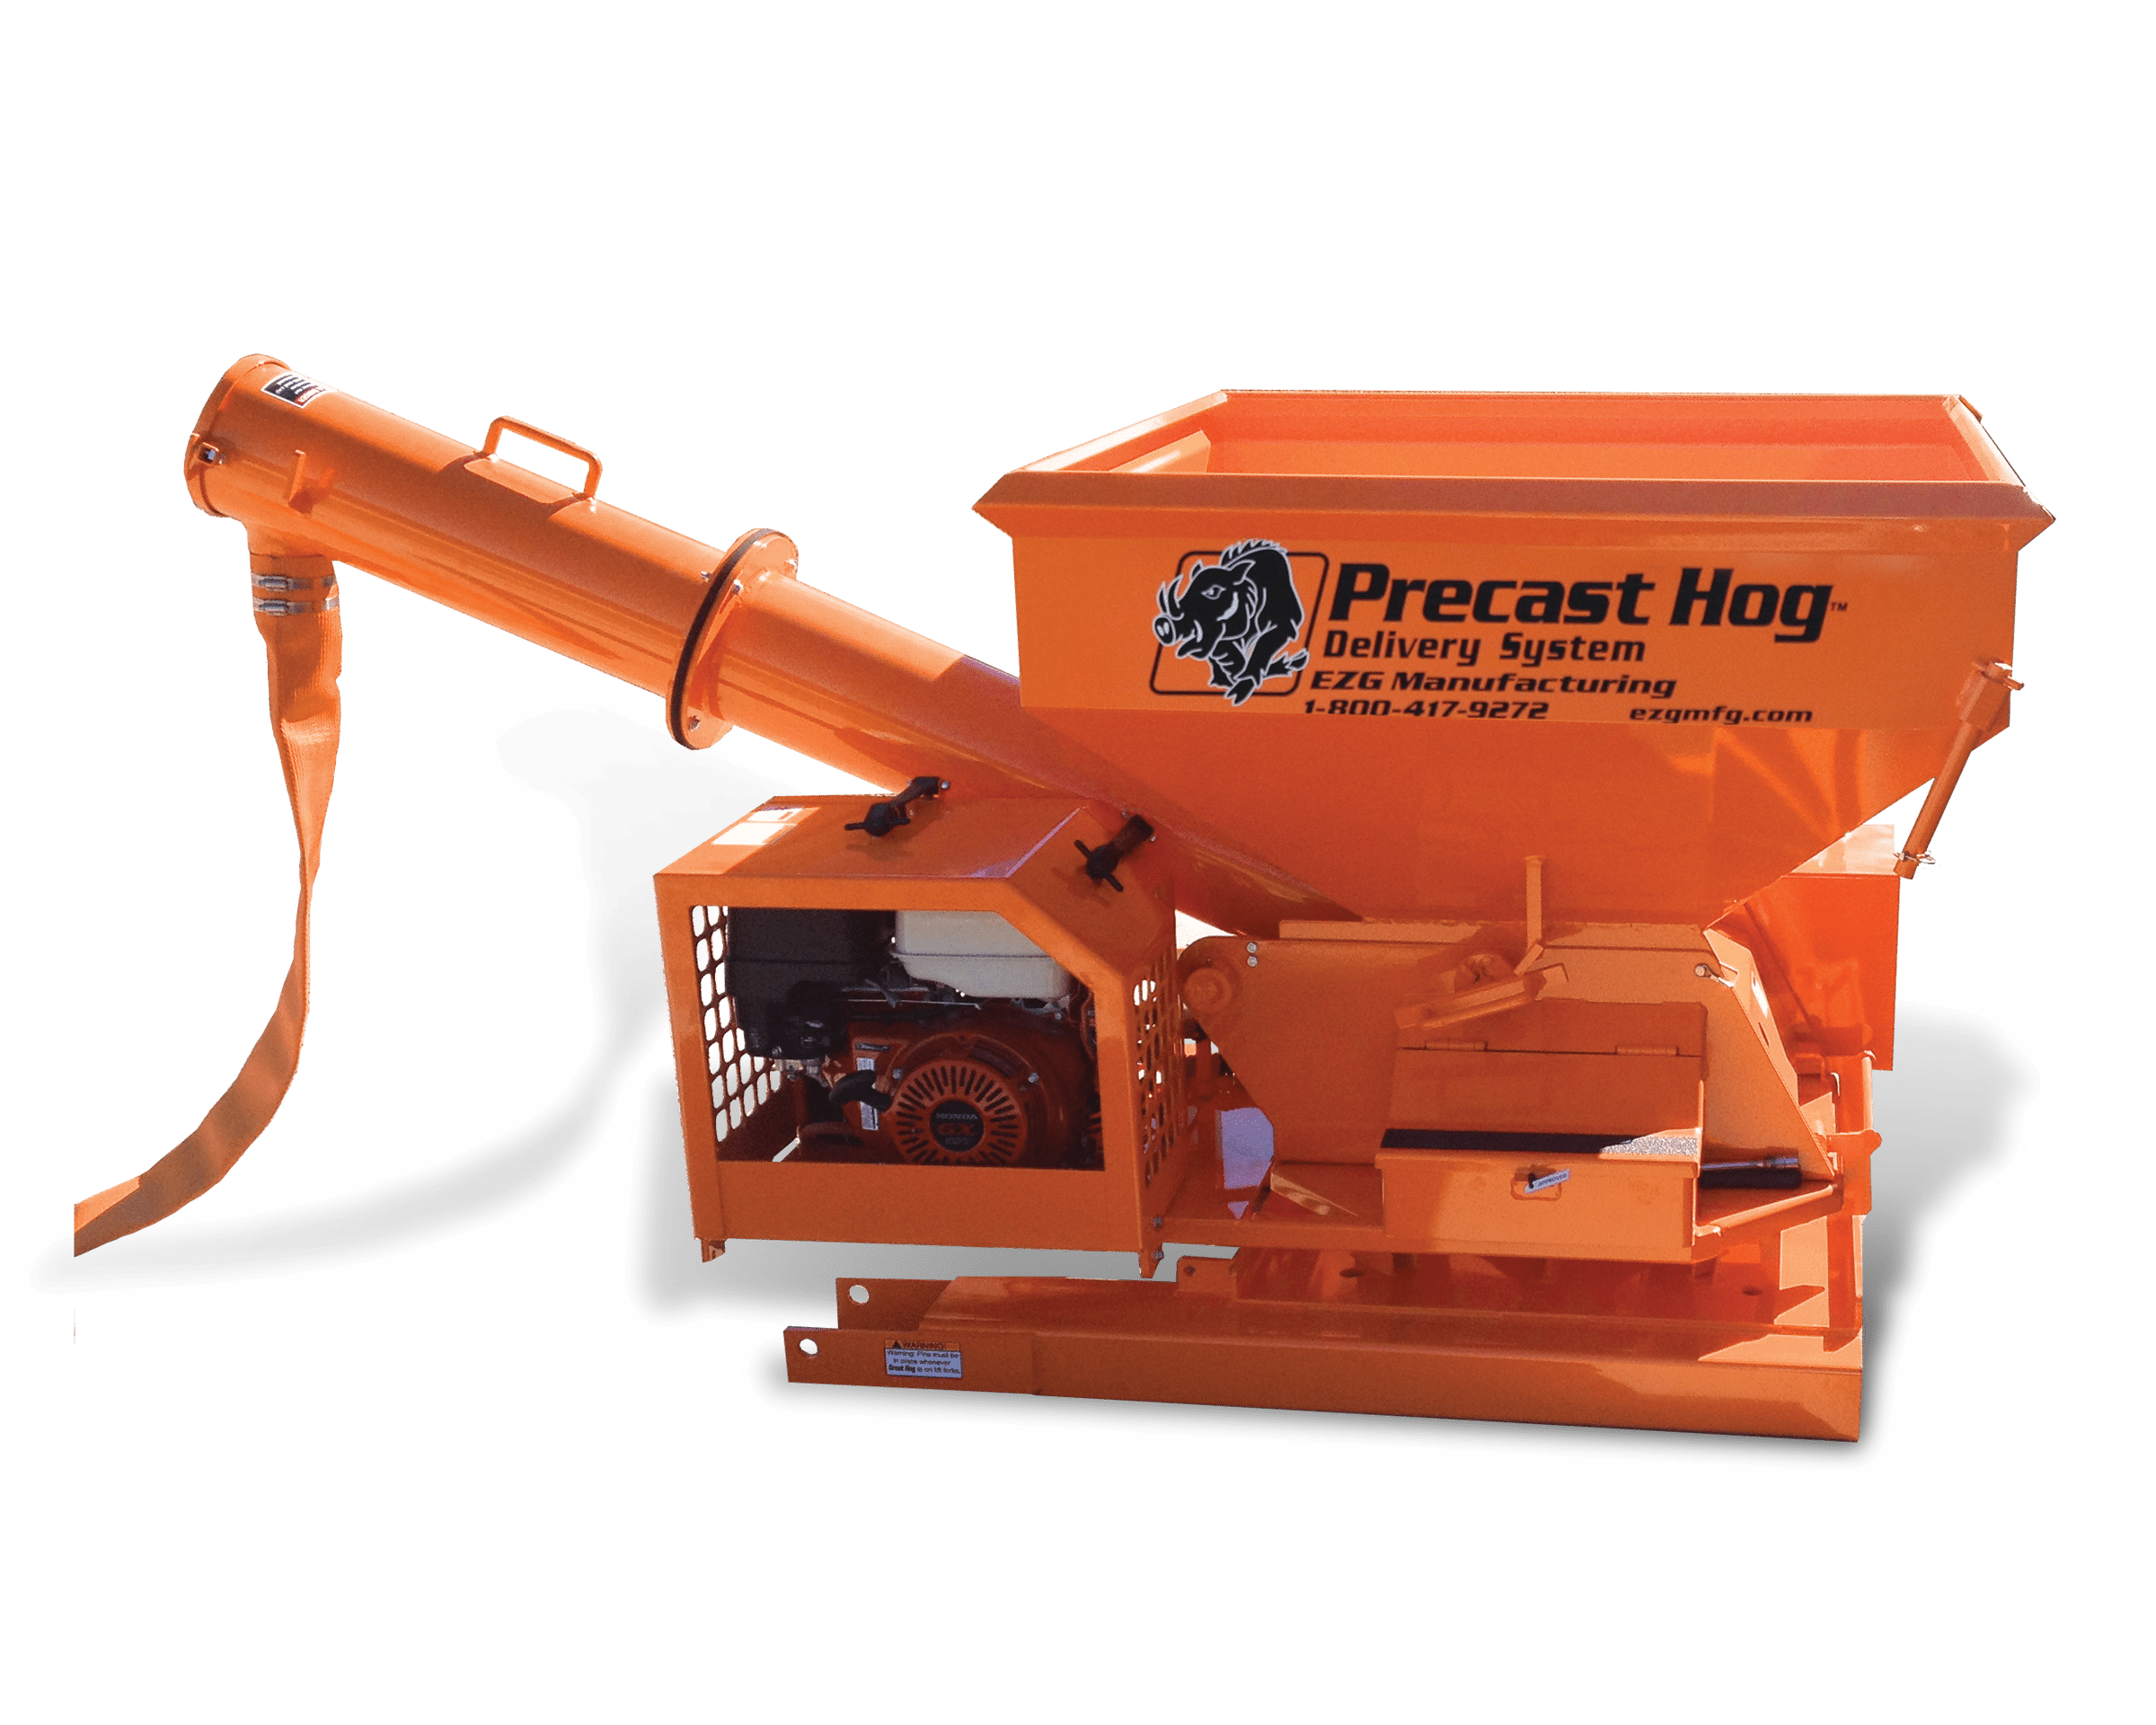
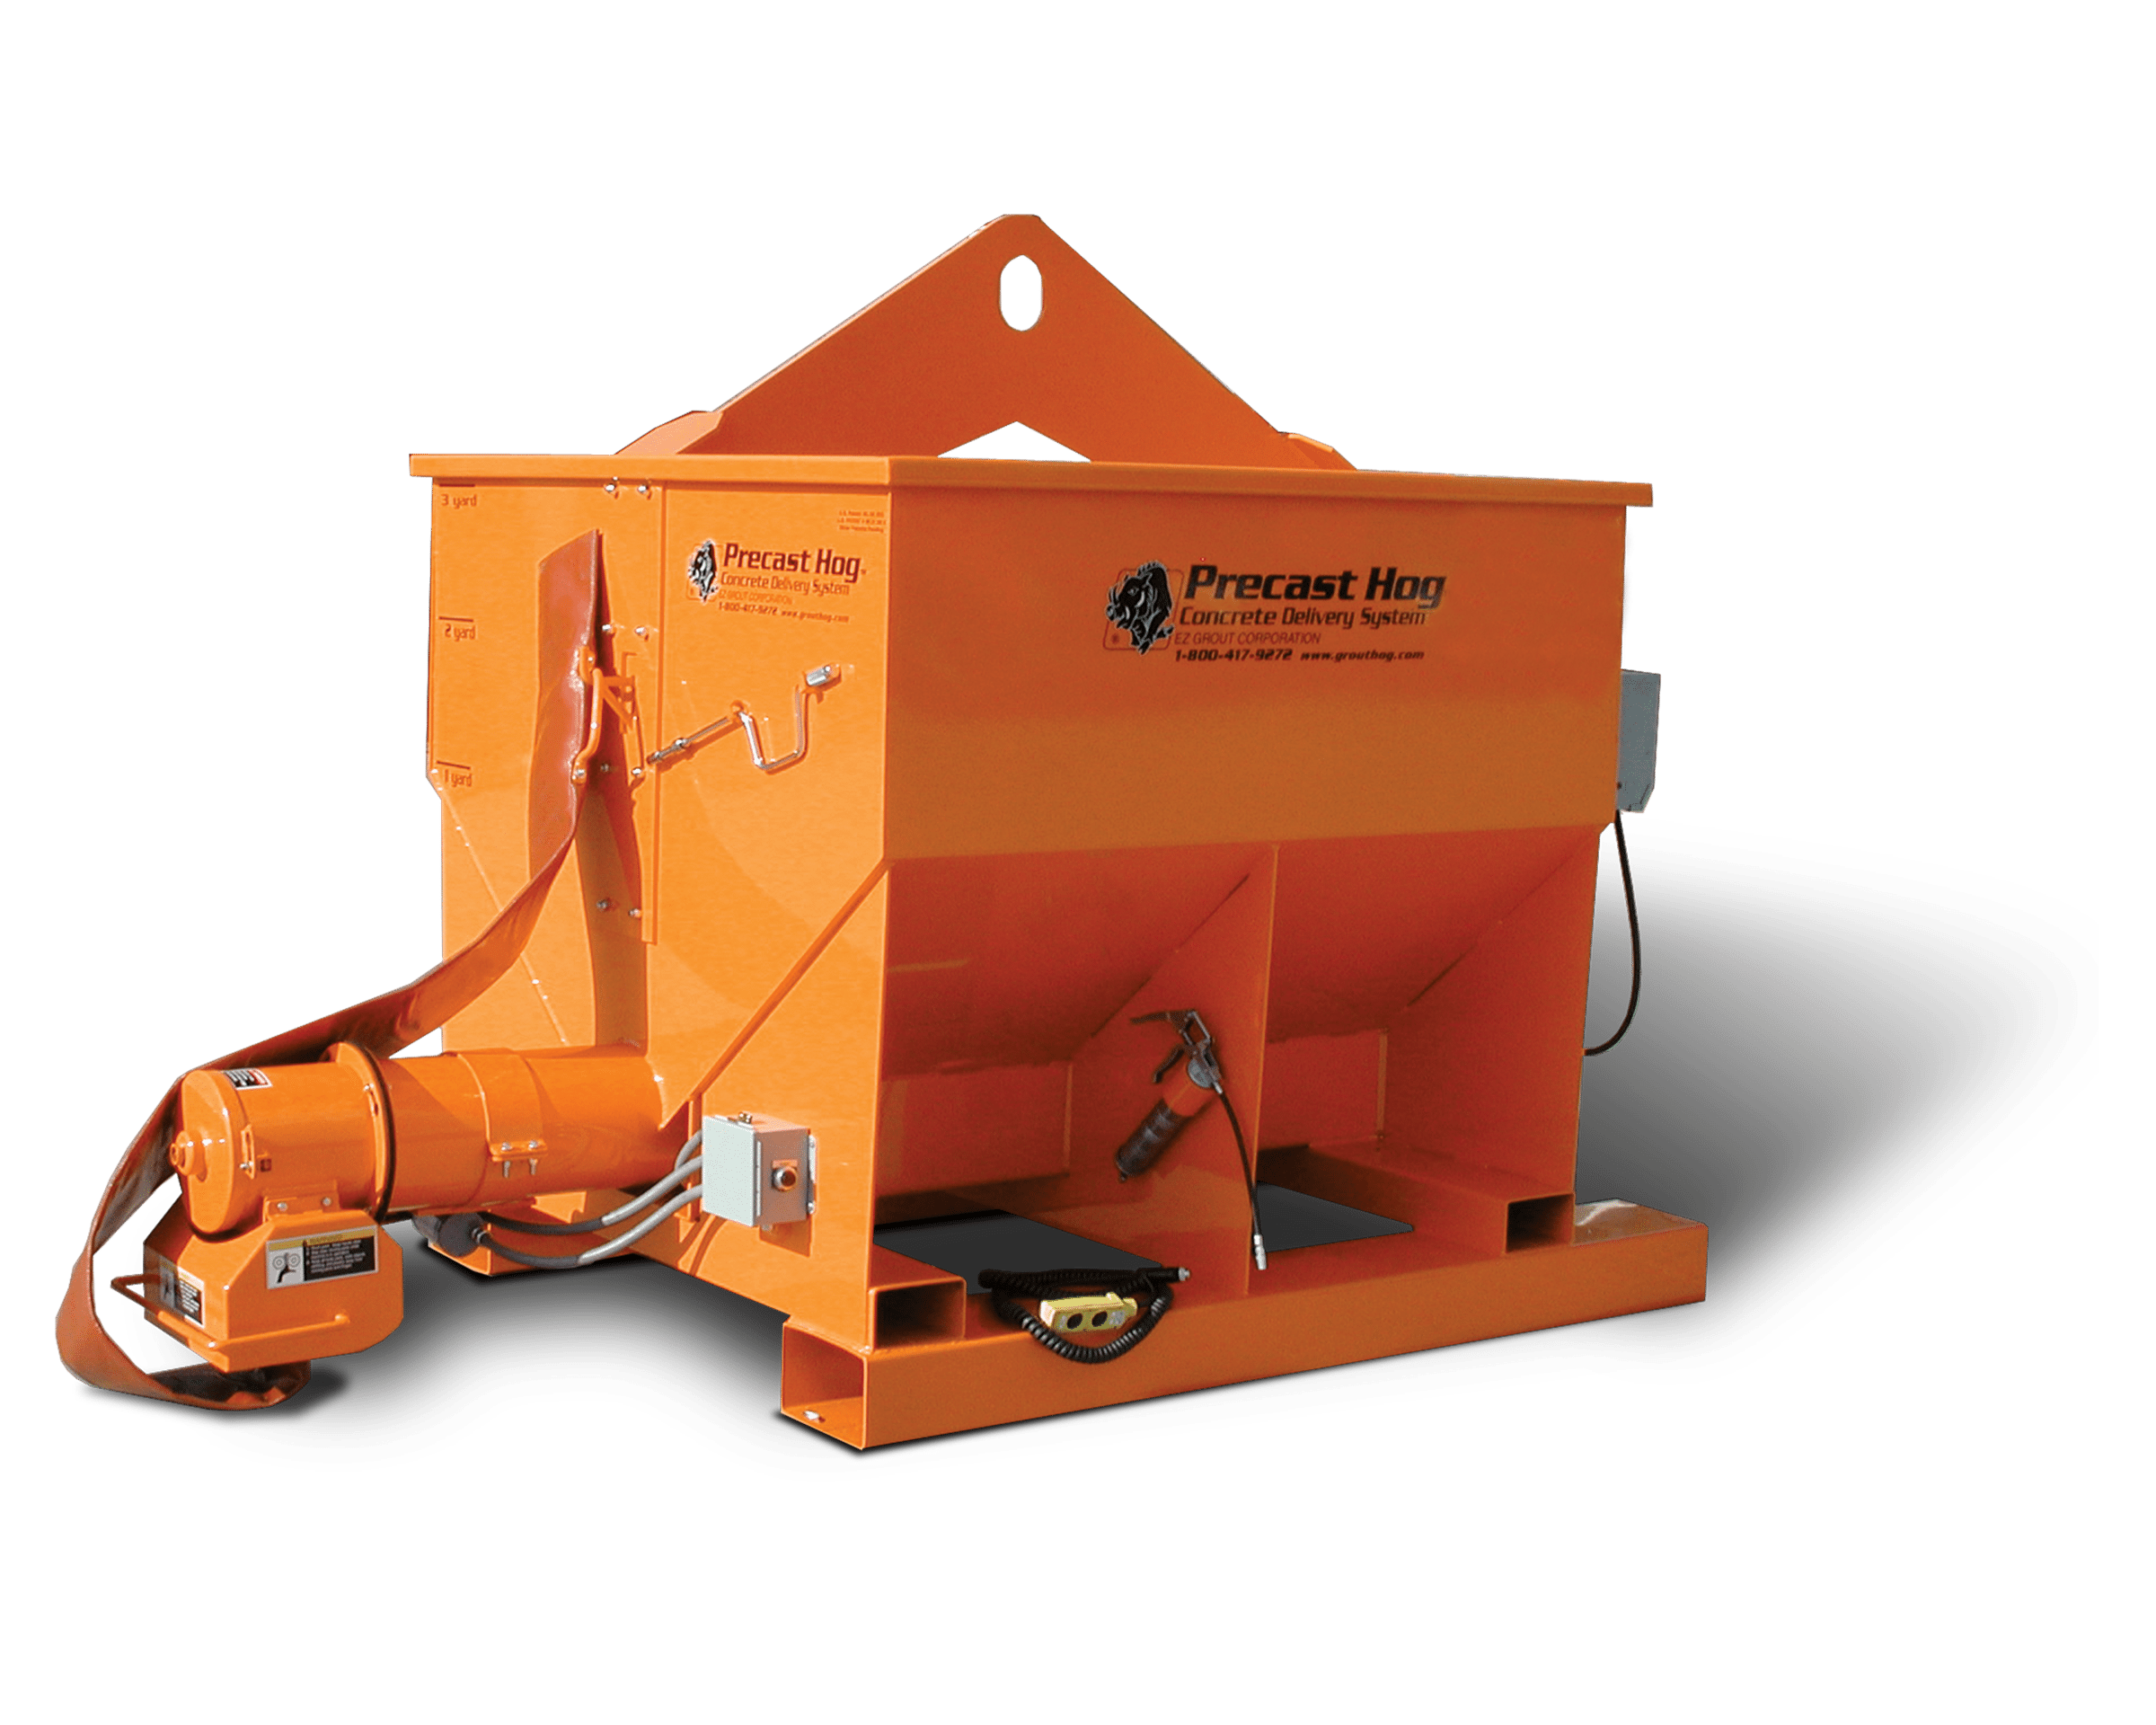
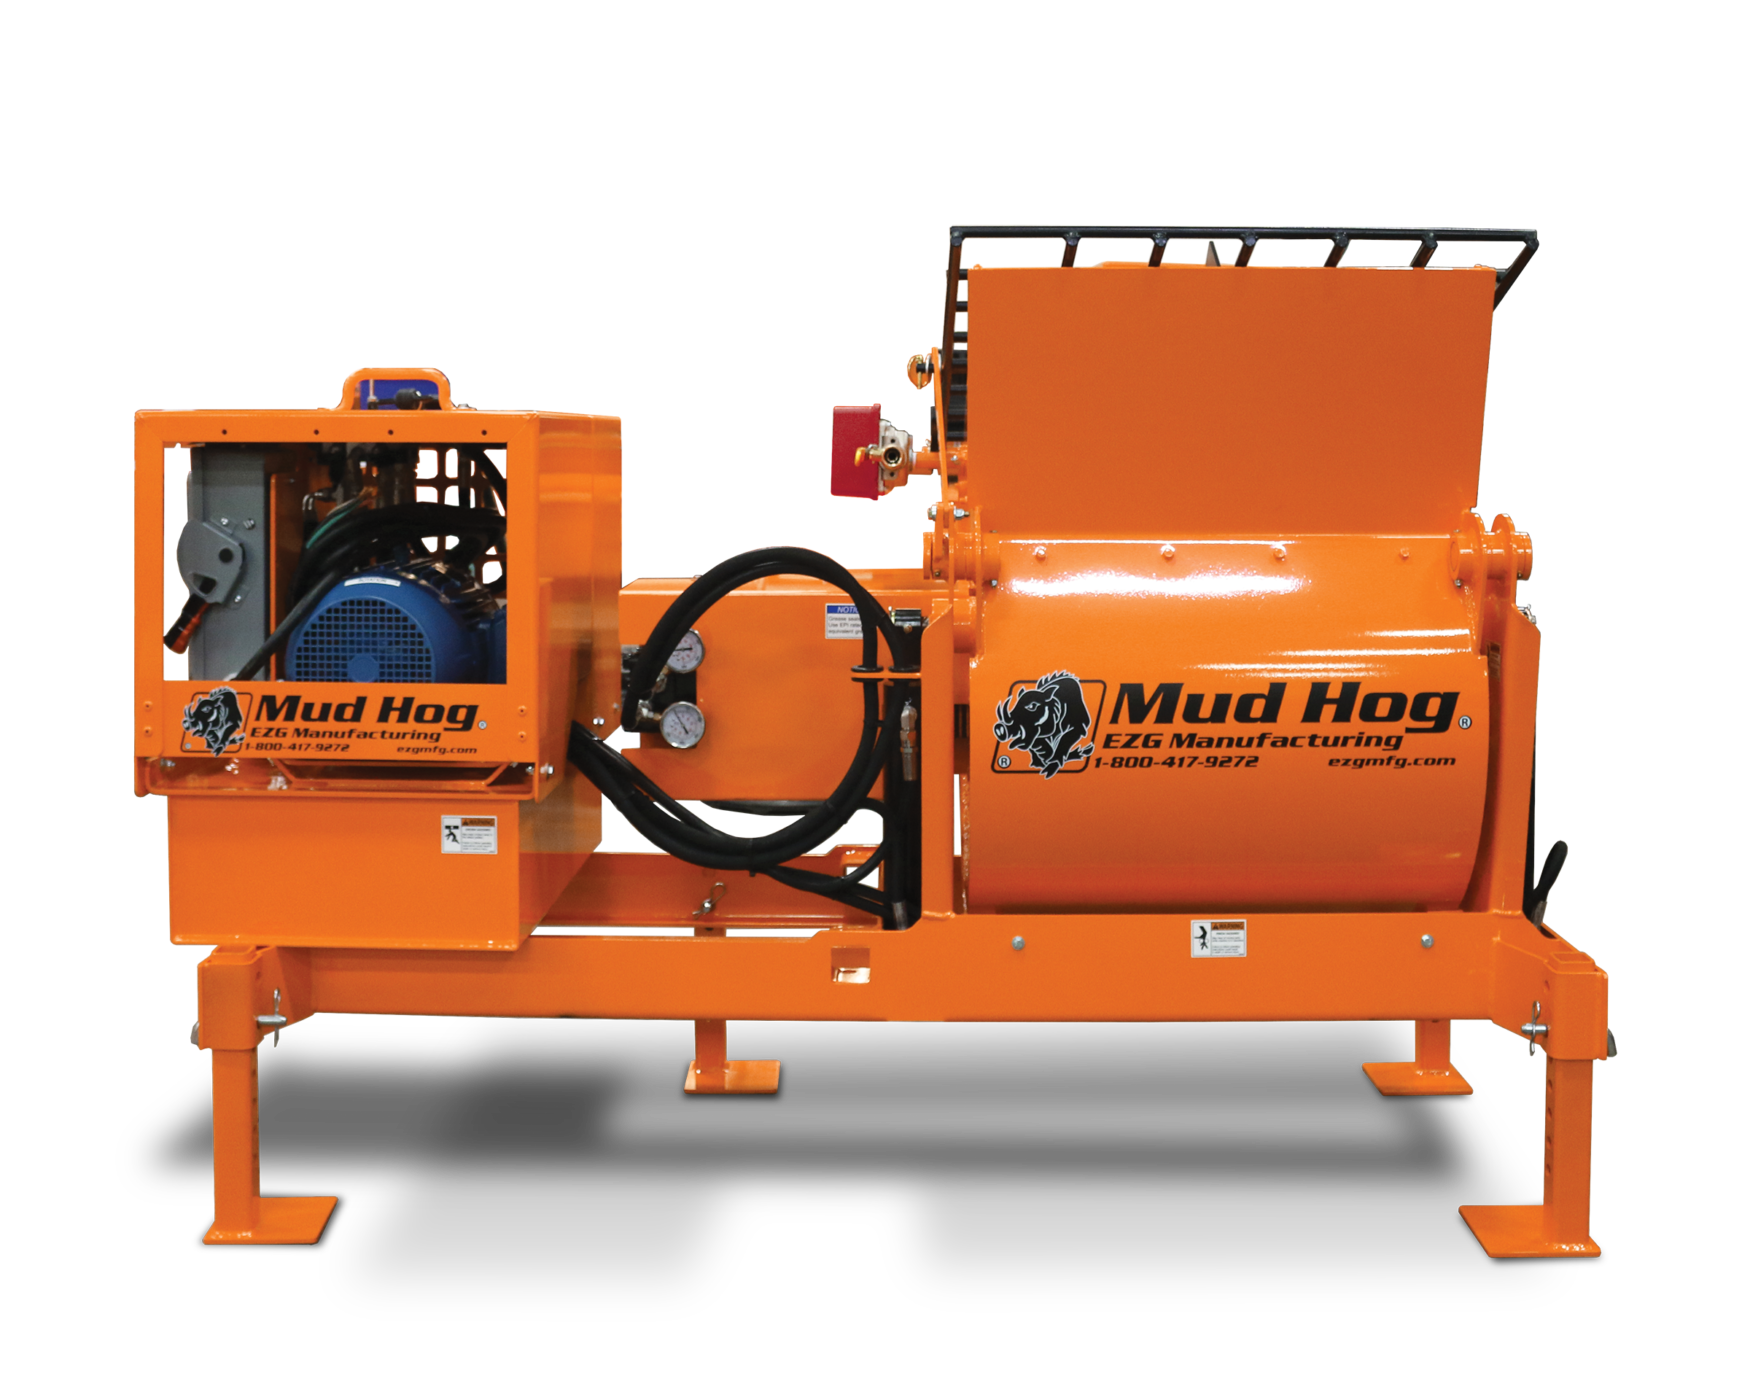
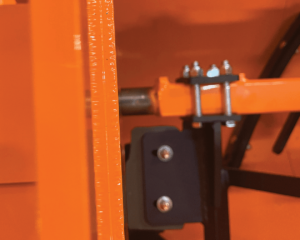
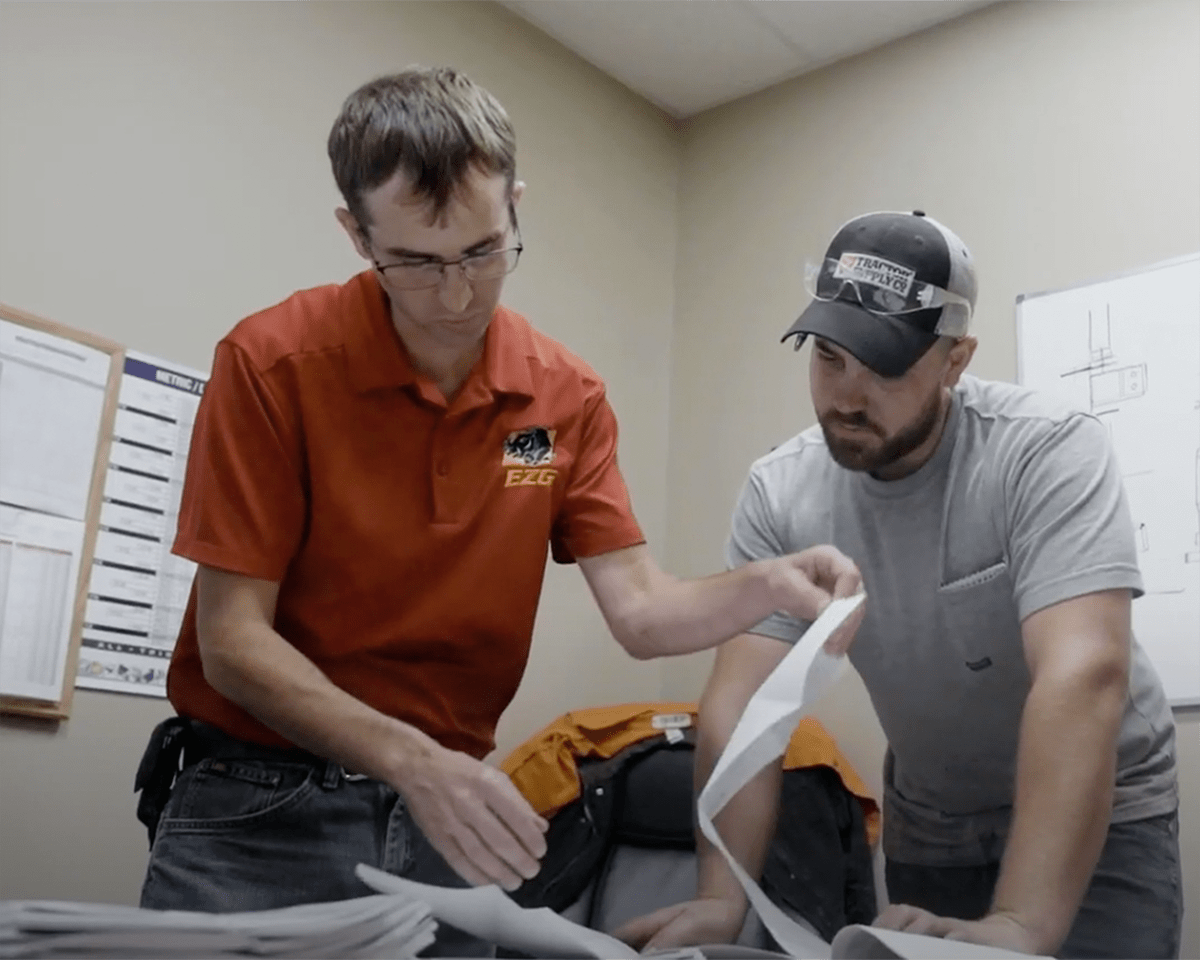
Contractor Productivity: Where EZG Fits In
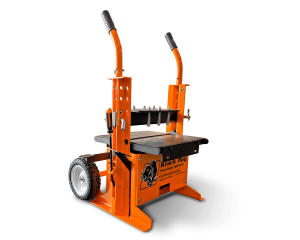
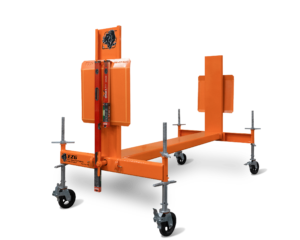
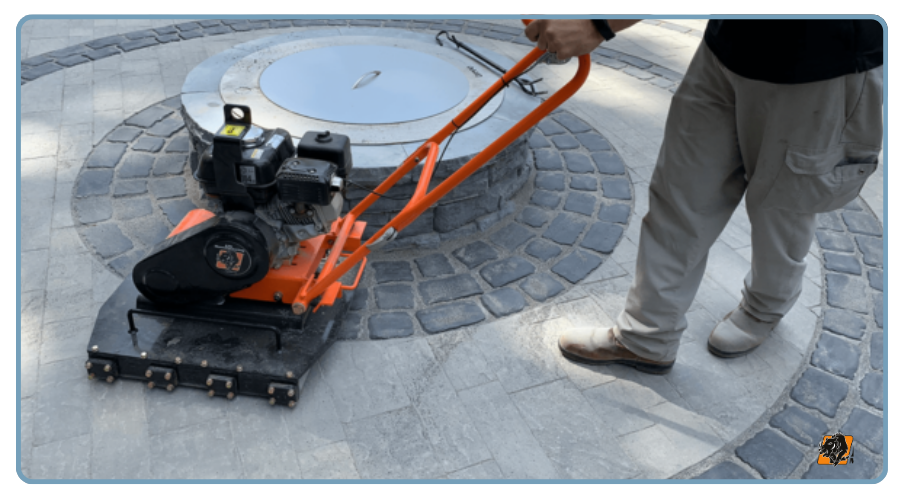
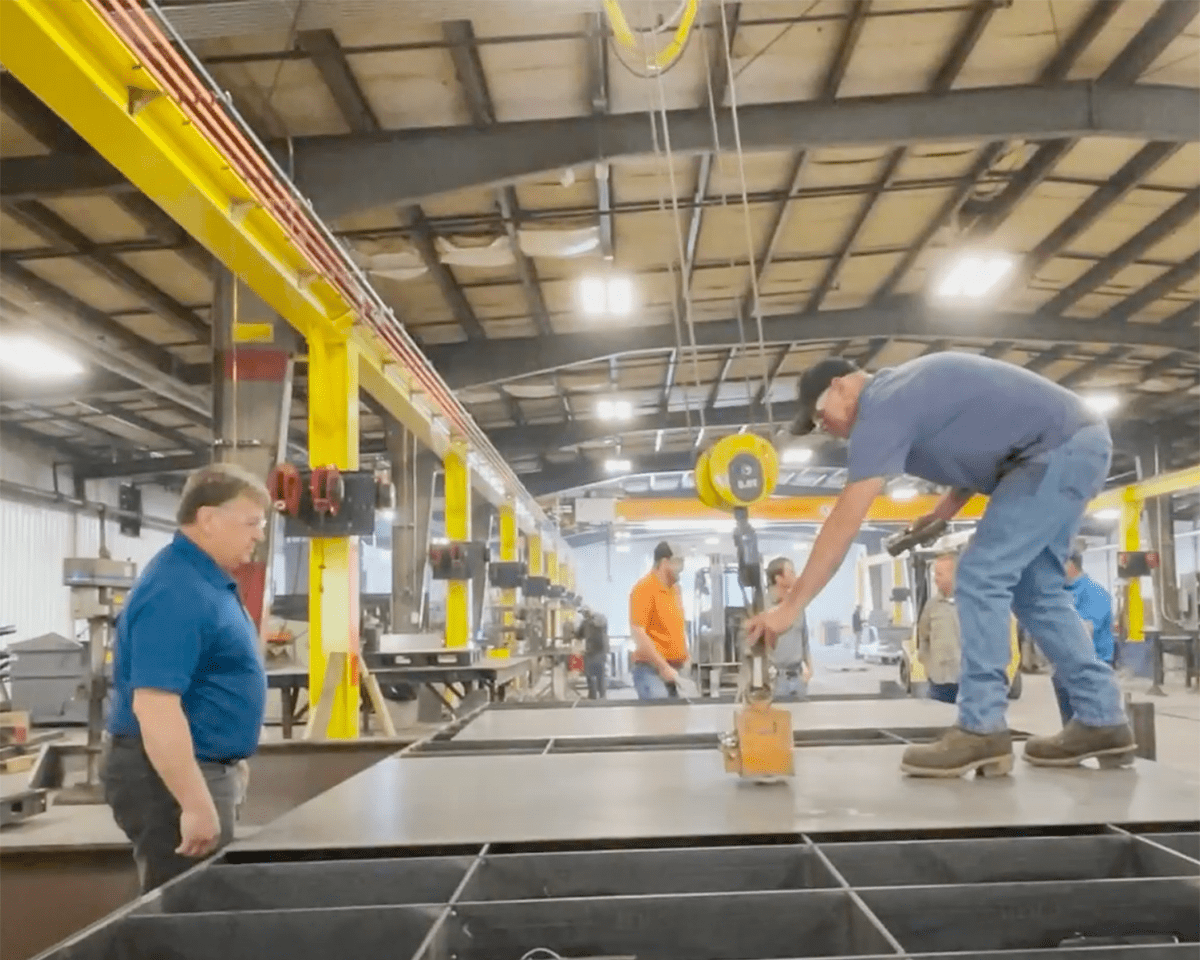
While EZG doesn’t produce paver cleaning products, contractors know that cleaning is only one part of a bigger process. The real time-saver is using reliable equipment during installation.
That’s where EZG Paver Tools make a difference. Built for durability and performance, EZG equipment helps contractors:
- Lay pavers faster with less downtime.
- Minimize fatigue on the job site.
- Keep crews productive from start to finish.
- Deliver a polished project where cleaning and sealing become the finishing touches.
Time saved during installation means more time to clean, seal, and hand over a flawless project to customers. EZG equipment is designed by contractors, for contractors, with one goal in mind: making every job more efficient and more profitable.
