


There’s no hiding a bad stretch on a chain link fence. Loose fabric, sagging runs, and gaps at the bottom all point to the same thing – the installation wasn’t done right. For contractors who want a clean, professional result every time, proper stretching technique and the right equipment make all the difference.
Below, we cover how to stretch a chain link fence from start to finish, including layout, tools, step-by-step instructions, and the most common mistakes to avoid.
What You Need Before You Start
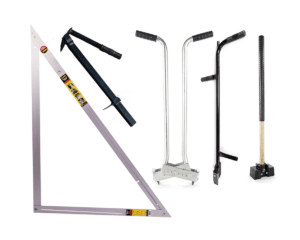
Before you unroll a single foot of chain link material, make sure you have the right tools and hardware on site. Missing one item can stall a job and cost you hours.
Tools and Materials Checklist
| Tools | Materials |
|---|---|
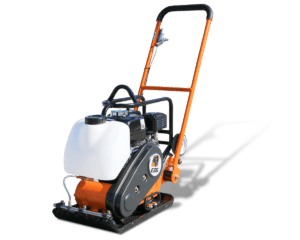
| Fence stretcher or come-along | Chain link fabric (correct gauge and height) |
| Pliers | Tension bars (stretcher bars) |
| Wire ties or aluminum ties | Tension bands |
| Post hole digger or auger | Tension wire |
| Level | Terminal posts, corner posts, and line posts |
| Measuring tape | Top rail and loop caps |
| Wrenches | Concrete mix for post setting |
The gauge of your chain link wire matters. Residential jobs typically call for 11 or 11.5 gauge, while commercial and industrial fence installations often require 9 gauge for added strength. Match the fabric weight to the application so the finished fence performs the way your customers expect.
Understanding the Fence Layout
A tight, professional stretch starts long before you ever pull the fabric. If your posts aren’t set right and your rails aren’t in place, no amount of pulling will fix the finished product.
Setting Terminal Posts, Corner Posts, and Line Posts
Every fence line starts and ends with a terminal post. These are the anchors for the entire installation. They bear the load of the stretched chain link fabric. Corner posts serve the same function at every change in direction. Between them, line posts support the fence at regular intervals, typically spaced 6 to 10 feet apart depending on the height and application.
All posts need to be plumb and set in concrete. A post that leans even slightly will throw off the tension across the full fence line. Take the time to check each one with a level before the concrete sets. This is the foundation of the whole job.
Installing the Top Rail and Tension Wire
Once posts are set and cured, thread the top rail through the loop caps on each line post. The top rail connects the framework and gives the chain link something solid to tie to along the top edge.
At the bottom of the fence, run a tension wire between terminal posts. This wire prevents the chain link fabric from being pushed up or pulled away from the ground, especially on uneven terrain where gaps tend to form. Together, the top rail and bottom tension wire create a frame that holds the fabric in place and gives the finished fence a smooth surface from top to bottom.
How to Stretch a Chain Link Fence: Step-by-Step
With posts, rails, and tension wire in place, it’s time to hang and stretch the chain link. Follow these steps in order, and take your time. Rushing the stretch is one of the fastest ways to create problems.
Step 1: Attach the Tension Bar to the Chain Link Fabric
Start by weaving a tension bar (also called a stretcher bar) through the end of the chain link fabric. Slide the bar vertically through the last row of diamonds on the roll. Then, secure the tension bar to the first terminal post using tension bands. Space the tension bands evenly. A good rule of thumb is one tension band per foot of fence height, plus one.
This connection is what holds the fixed end of the fabric to the post. It needs to be tight and secure before you move on.
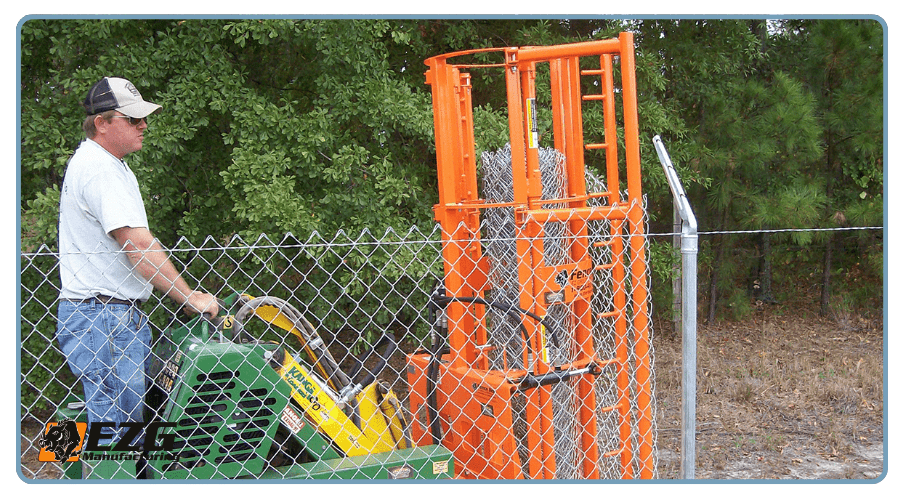
Step 2: Unroll the Chain Link Fabric Along the Fence Line
With the starting end attached, unroll the chain link fabric along the outside of the fence posts, keeping it flat on the ground. This sounds simple, but anyone who’s done it by hand knows the reality. A full roll of chain link material is heavy, awkward, and time-consuming to manage manually. On longer runs, it can eat up hours of labor and wear out a crew before the real work even starts.
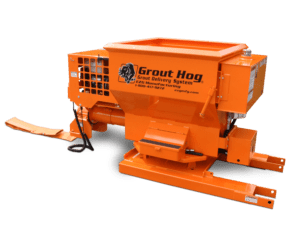
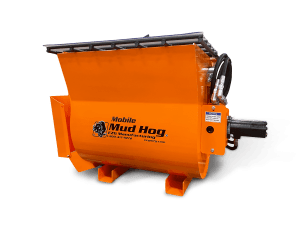
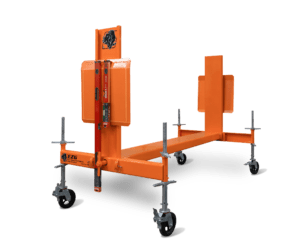
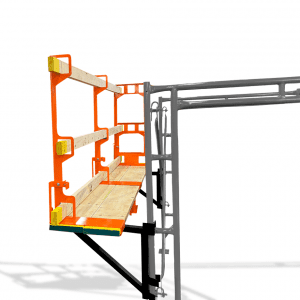
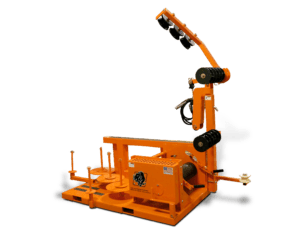
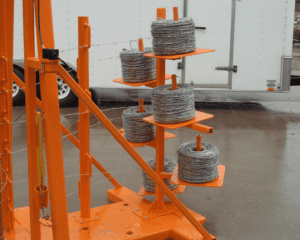
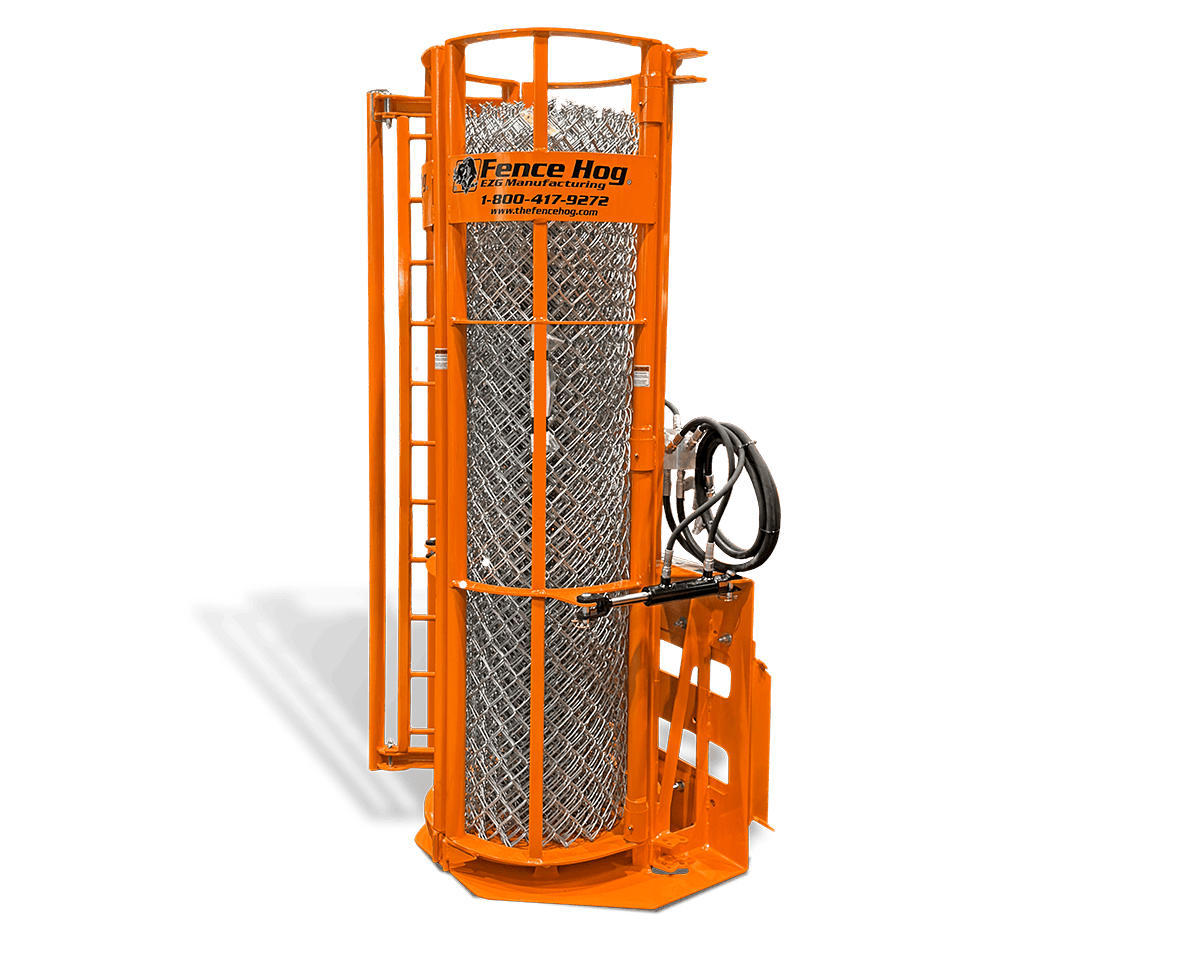
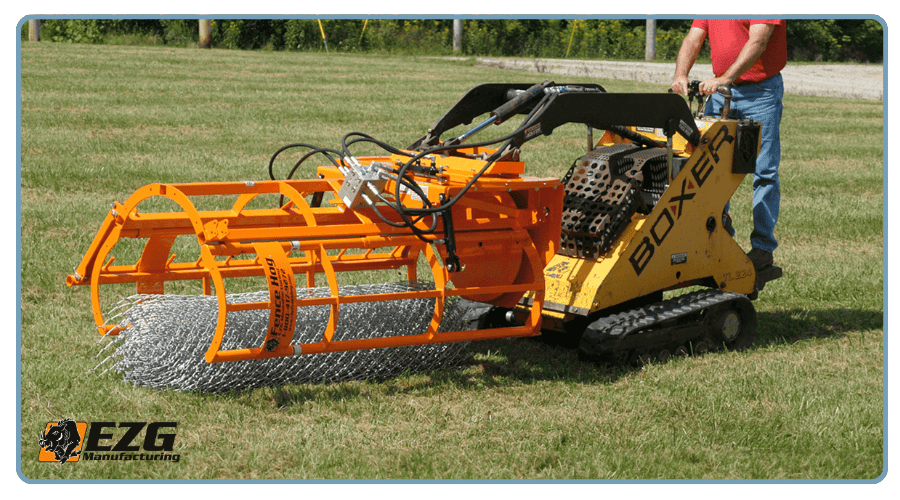
EZG’s Chainlink Dispensers are purpose-built to make this step faster and easier. The Installink Fence Dispenser lets a crew unroll and position chain link fabric along the fence line with less physical strain. Instead of wrestling a roll across the ground, the dispenser feeds the fabric out smoothly and keeps the crew moving.
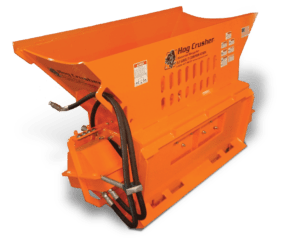
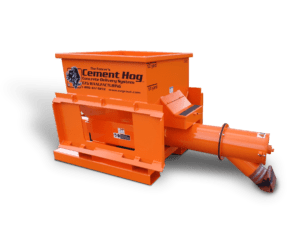
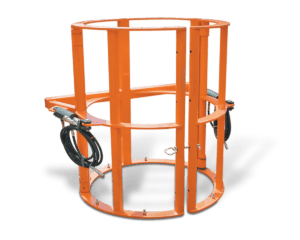
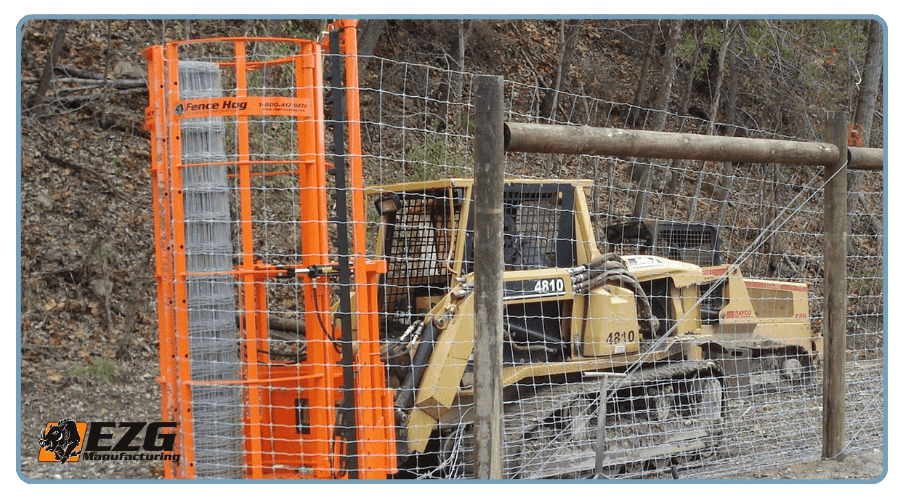
Powered by the hydraulics on your skid-steer loader, the Fence Hog® picks up and dispenses rolls of chain link fence with no physical effort. Its uniquely designed cage mechanism opens and tilts to retrieve the fence roll right off the ground. No more unrolling by hand and pulling extra guys off other tasks just to stand it up. It turns what used to be the most labor-intensive part of installation into a one-operator job.
You can see the Fence Hog in action here:
Step 3: Attach a Stretcher Bar to the Opposite End
Once the fabric is laid out along the full run, weave a second tension bar through the loose end of the chain link wire. This is the end where you’ll apply pulling force, so make sure the bar is threaded through completely and seated in the diamonds evenly.
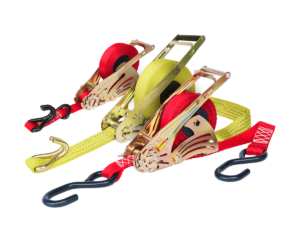
Step 4: Use a Fence Stretcher or Come-Along to Pull the Fabric
Hook your fence stretcher or come-along to the tension bar on the loose end. Anchor the other side of the stretcher to the terminal post or a solid temporary brace. Then, begin cranking slowly and steadily.
Pull the chain link fabric toward the end post in controlled increments. Don’t rush this step. As you pull, watch the diamond pattern in the fabric. When the chain link reaches proper tension, the diamonds will tighten and become slightly elongated, but they should not flatten or distort. If the diamonds start to close up and lose their shape, you’ve gone too far.
A simple field test: press the fabric with your hand between two line posts. At proper tension, it should deflect about a quarter inch to a half inch and spring back. If it moves freely or feels loose, keep pulling. If there’s no give at all, you’ve over-stretched.
Step 5: Secure the Fabric to the End Post
Once you’ve reached proper tension, secure the tension bar to the end post with tension bands – same spacing as the starting end. If the roll of chainlink fabric was longer than the run, you’ll need to trim the excess. Use pliers to remove individual wires from the weave, cutting cleanly at the point where the tension bar sits.
After securing, walk the full fence line and visually inspect the tension. The fabric should be taut and uniform from post to post with no sagging or bulging.
Step 6: Tie the Fabric to Line Posts and Top Rail
With the chain link stretched and locked in at both ends, tie the fabric to each line post and along the top rail using wire ties or aluminum ties.
Recommended tie spacing:
- Top rail: Every 12 to 15 inches
- Line posts: Every 24 inches, from top to bottom
- Bottom tension wire: Every 24 inches
These ties hold the chain link snug against the frame and prevent it from rattling or shifting in wind. Take the time to tighten each one. Loose ties lead to a loose-looking fence over time.
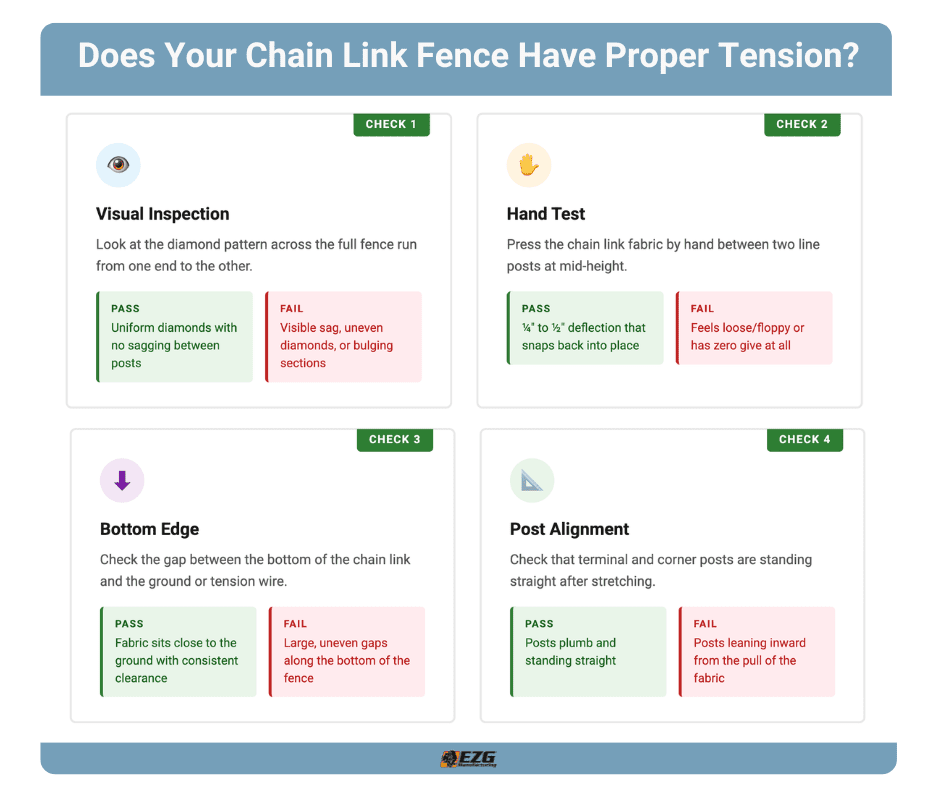
How to Tell If Your Chain Link Fence Has Proper Tension
After the installation is complete, give the fence a final check before you call the job done.
| Check | What to Look For |
|---|---|
| Visual | Diamonds in the fabric should be uniform across the full run with no sagging between posts. |
| Hand test | Press the fabric between line posts. It should have slight give but snap back — not feel loose or floppy. |
| Bottom edge | The chain link should sit close to the ground or tension wire with no large gaps. |
| Posts | Terminal posts and corner posts should stand straight — not leaning inward from the pull of the fabric. |
If anything looks off, address it now. Re-stretching a section is much easier before the ties are all in place than after.
Common Mistakes When Stretching Chain Link Fencing
Even experienced crews run into problems when they skip steps or cut corners. Here are the most frequent issues and how to avoid them.
Over-Stretching the Fabric
Pulling the chain link too tight distorts the diamond pattern and puts excess stress on the wire. Over time, this weakens the fabric and can even pull terminal posts out of alignment. If the diamonds start to flatten, back off the stretcher.
Under-Stretching the Fabric
A chain link fence that isn’t pulled tight enough will sag between posts and look unprofessional. It’s also more vulnerable to wind, animal damage, and general wear. This is one of the most visible mistakes on a job, and it’s the kind of thing customers notice immediately.
Not Using a Tension Wire at the Bottom
Skipping the bottom tension wire is a shortcut that always shows. Without it, the chainlink fabric can be pushed up from the ground, creating gaps along the bottom of the fence. On sloped or uneven ground, this problem gets worse fast.
Skipping the Stretcher Bar
Trying to pull chain link fabric without a tension bar at the pulling end causes uneven stretch across the width of the fabric. Some sections will be tight while others stay loose, and you risk tearing or bending the wire at the connection point. Always use a stretcher bar on both ends.
How the Right Equipment Makes the Job Easier
Stretching a chain link fence is straightforward work, but that doesn’t mean it’s easy, especially on long runs, large commercial jobs, or rough terrain. The difference between a crew that finishes on time and one that falls behind often comes down to the equipment they’re using.
That’s the thinking behind everything built at EZG Manufacturing. Every product EZG builds, from the Fence Hog® line to our Chainlink Dispensers, is designed by people who’ve actually done the work.
The Fence Hog®: Fencing Made Easy
Developed with the assistance of professional fence builders, the Fence Hog® was designed to answer one request contractors kept making: a machine that picks up and dispenses heavy rolls of chain link fence with no physical effort.
Powered by the hydraulics on your skid-steer loader, the Fence Hog’s uniquely designed cage mechanism opens and tilts to retrieve a fence roll directly from the ground. For the fence contractor, this means no more unrolling chain link by hand and no more pulling extra crew members off other tasks just to stand up and manage a roll. One operator handles what used to take two or three people, and does it faster.
Equipment Quality Matters
Here’s a perspective most contractors don’t hear enough: only about 30% of the cost of a piece of equipment is what you pay at the time of purchase. The other 70% comes during the life of that product. When you invest in equipment that’s built to last, you save money on every job going forward.
If you have questions about chain link installation or want to see how EZG’s fencing equipment can help your crew work more efficiently, visit our fencing products page or give us a call. We’re here to help you solve problems. That’s what we’ve been doing since day one.
