


If you have a great product idea, prototype manufacturing is how you turn that concept into something real. From a napkin sketch to a working, physical part, prototyping is the process of bringing ideas to life. Whether building a one-off model to pitch investors or testing a functional version for production, understanding the full process can save you time, money, and mistakes.
If you have a concept and need to build a physical product, here’s everything you need to know.
What Is Prototype Manufacturing?
Prototype manufacturing is the process of taking a product concept and building an early version of that product. This prototype can be used to test fit, function, performance, and manufacturability before committing to full-scale, mass production.
There are different types of prototypes:
- Visual prototypes show appearance but may not function
- Functional prototypes work like the final product, even if not made from the final materials
- Production-intent prototypes are nearly identical to the final version, using the same methods and materials
The Prototype Manufacturing Process: Step by Step
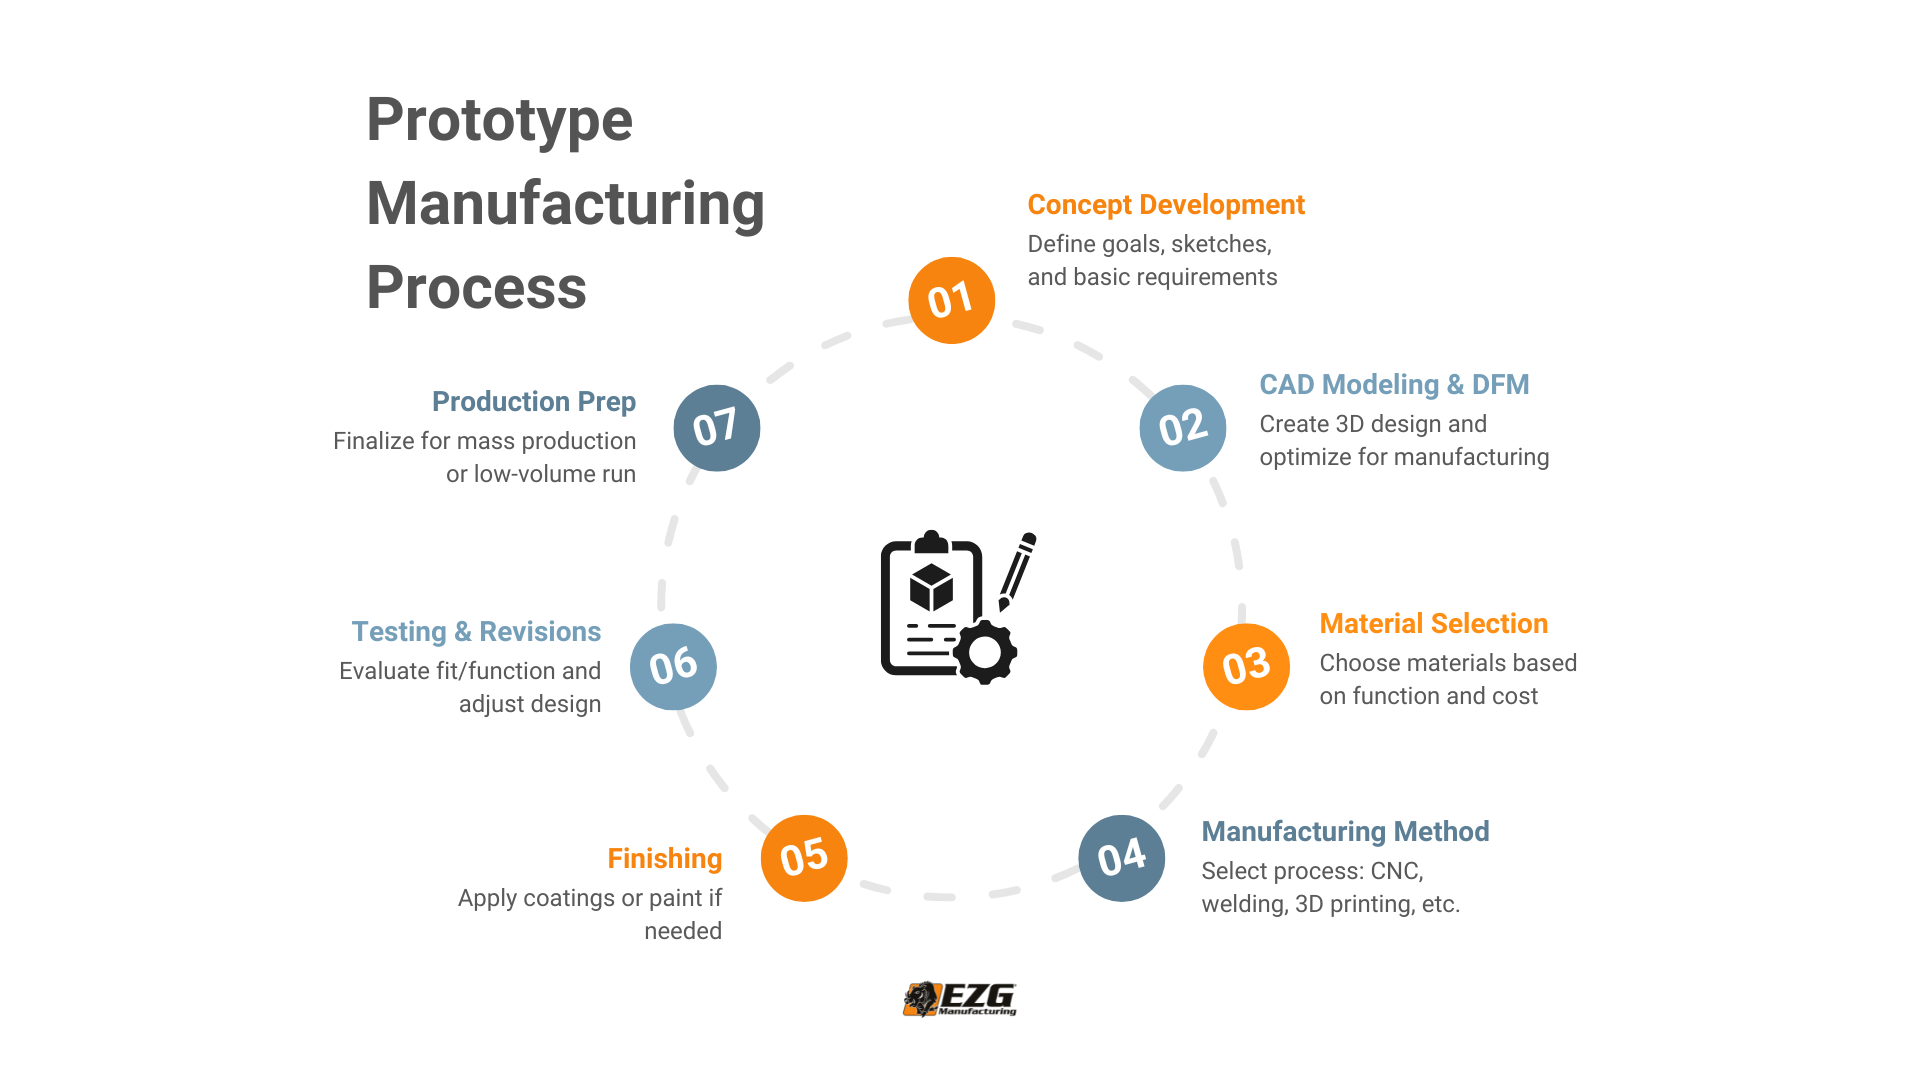
1. Concept Development
Every prototype starts with an idea. That idea may be roughly sketched on paper or outlined in a digital file. During this phase, product designers or engineers work to clarify the purpose, target market, and basic form of the part or product.
This is also when general requirements are defined, such as:
- Dimensions and tolerances
- Material expectations
- Structural loads or performance targets
- Aesthetic goals
From here, you move to refining that idea into something that can actually be built.
2. CAD Modeling and Design for Manufacturability
Once the concept is clear, the product design is translated into a CAD (Computer-Aided Design) model. These 3D files simulate the product in a virtual environment and allow for precise measurements.
Design for manufacturability (DFM) is a major part of this phase. Engineers assess how feasible it is to fabricate the part and recommend changes to reduce production cost, improve quality, or avoid material waste.
3. Material Selection
The right material depends on the prototype’s purpose. A prototype meant to demonstrate functionality needs stronger materials than one meant only for display.
Here’s a simple reference for common prototyping materials:
| Material | Characteristics | Use Cases |
|---|---|---|
| Aluminum | Lightweight, easy to machine | Structural frames, brackets |
| Mild Steel | Durable, weldable | Supports, enclosures |
| Stainless Steel | Corrosion-resistant, strong | Industrial and outdoor parts |
| ABS or Nylon | Lightweight, low cost, 3D printable | Proof-of-concept models |
| Specialty Metals | Heat, corrosion, or wear resistance | High-performance applications |
4. Manufacturing Method Selection
The fabrication process depends on the design, material, and intended use. Common methods used in prototype manufacturing services include:
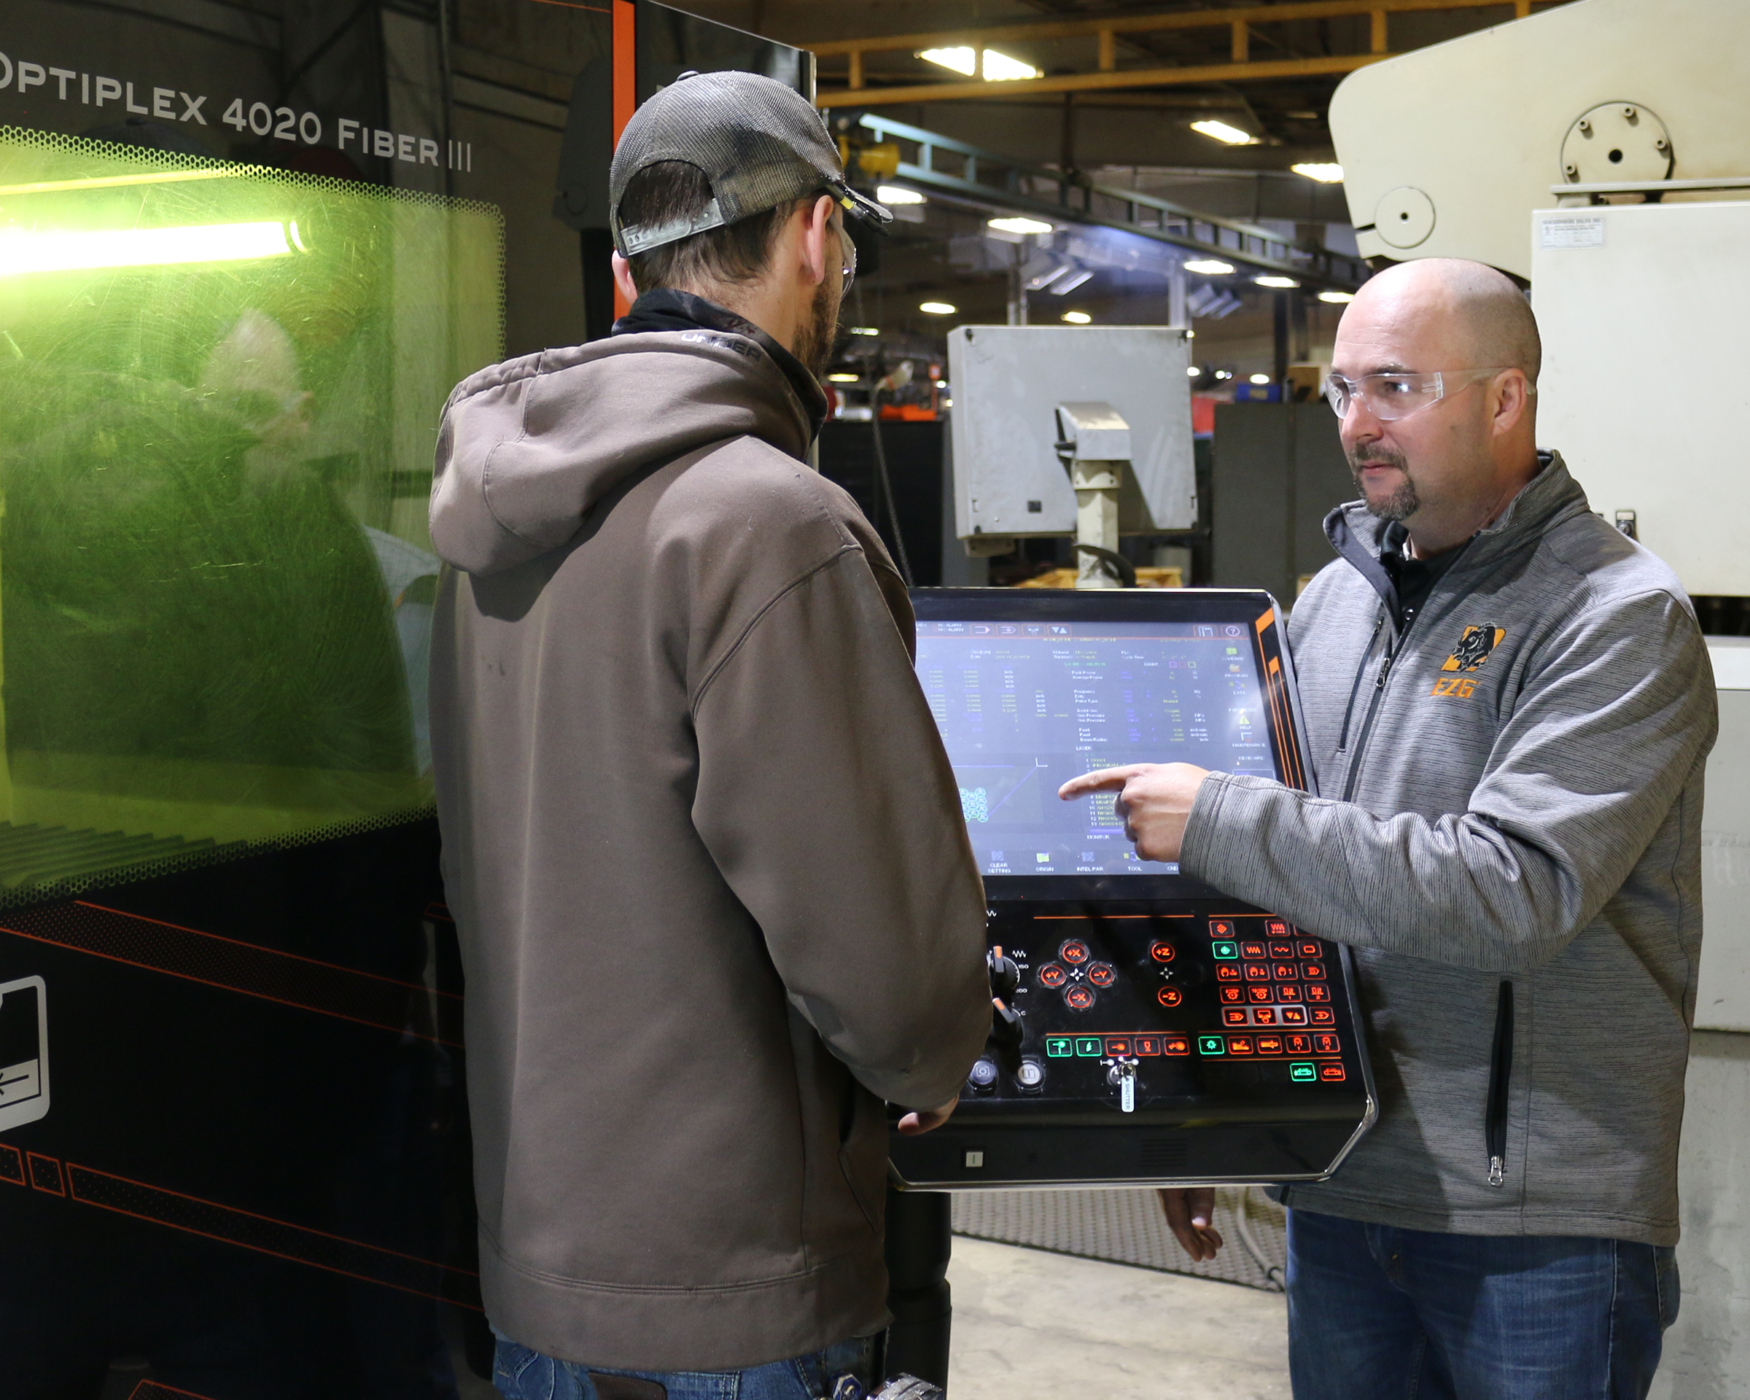
CNC Machining
Excellent for precision parts with tight tolerances, precision cuts, and small to medium batches of metal parts or plastic parts
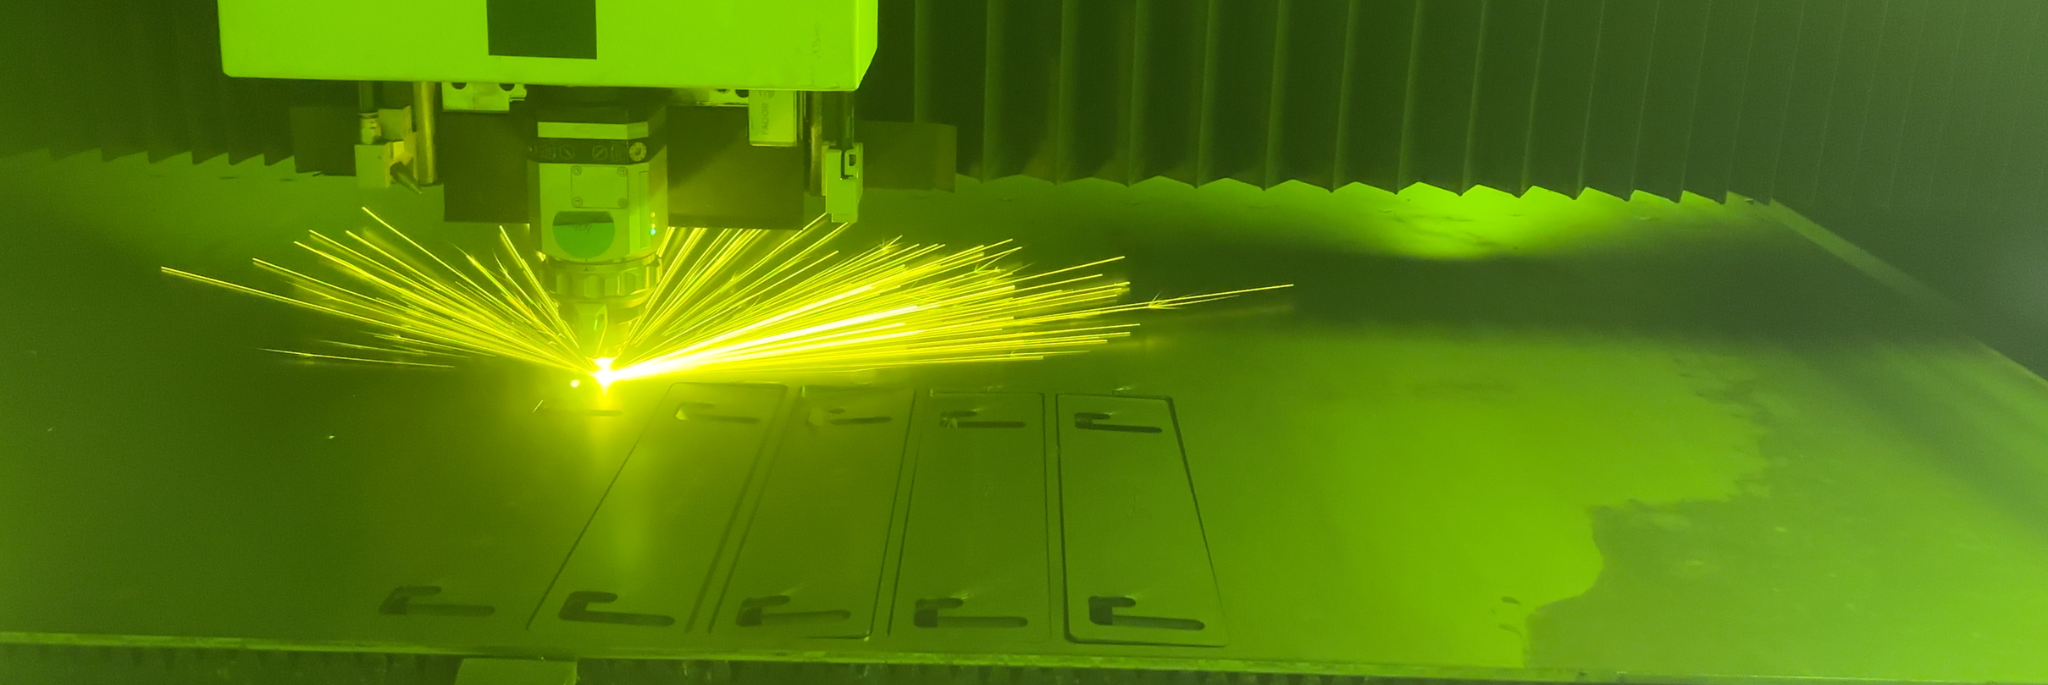
Laser Cutting & Sheet Metal Fabrication
Fast and accurate for cutting sheet metal parts and profiles. Great for flat parts and brackets.
Welding
Required for structural or multi-part metal prototypes. Can include MIG, TIG, or robotic welding.
3D Printing
Also known as additive manufacturing, 3D printing is great for quick iterations. It’s commonly used to produce a plastic prototype or early-stage functional prototype during product development.
Injection Molding
Supported by rapid tooling to create plastic parts at scale with production-grade quality
Powder Coating or Painting
The final step if surface durability or appearance is important. Used on prototype parts that need color, texture, or corrosion resistance.
What is Rapid Prototype Manufacturing?
When speed matters, rapid prototyping services help turn ideas into physical parts in a fraction of the time. This method uses accelerated tools like 3D printing, CNC machining, or rapid manufacturing workflows to produce parts quickly. The goal of rapid prototyping is to shorten development cycles and allow for faster design revisions during the prototyping process.
How Long Does Prototype Manufacturing Take?
Timelines vary depending on part complexity, number of components, and supplier availability.
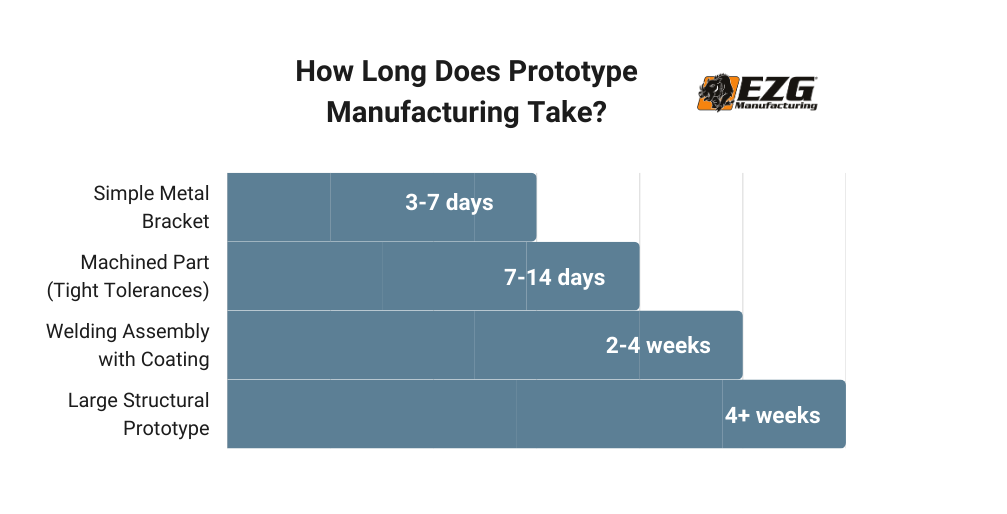
Here’s a rough breakdown of the typical ranges of production parts:
- Simple metal bracket: 3–7 days
- Machined part with tight tolerances: 7–14 days
- Multi-part welded assembly with coating: 2–4 weeks
- Large prototype or structural equipment: 4+ weeks
The more design revisions or approval steps involved, the longer the timeline. A well-prepared CAD file and clear instructions help avoid delays.
Cost Factors in Prototype Manufacturing
Costs vary based on raw materials, fabrication time, and the type of manufacturing service used. A high-quality prototype might require additional post-processing or coatings to reflect the final product conditions. If the goal is a production-caliber prototype, expect to account for finishing, material selection, and assembly processes.
Here is a basic breakdown:
| Cost Factor | What It Covers |
|---|---|
| CAD and engineering | Design time, modeling, simulation |
| Machining or fabrication | Machine time, labor, tooling setup |
| Materials | Raw materials (metal, plastic, specialty components) |
| Finishing | Powder coating, painting, polishing |
| Quantity | Per-part cost often drops with batch production |
Common Challenges in Prototype Manufacturing
Prototype projects often include trial and error. Potential issues include:
- Design revisions: CAD updates after fit or function testing
- Tolerance stack-up: Small dimension errors in multiple parts can lead to poor fit
- Miscommunication: Lack of clarity between designer and fabricator
- Material limitations: Some features can’t be made with certain materials
Working with a knowledgeable manufacturer early on can help minimize these issues. Iteration is expected. What matters is how quickly you can adjust.
From Prototype to Production: The Next Step
Once the prototype is tested and finalized, it’s time to move toward production and final assembly.
- Low-volume runs are ideal for pilot programs or soft launches
- Production-intent prototypes help dial in tolerances, materials, and repeatability
- Manufacturers may recommend changes for tooling, weld fixtures, or coatings to prepare for higher volumes
This stage bridges the gap between testing and commercialization.
When to Work with a Contract Manufacturer
You don’t have to build everything yourself. A contract manufacturing partner can take your design and fabricate it using professional-grade equipment, experienced operators, and repeatable processes.
Signs it’s time to bring in a contract manufacturer:
- You need high-precision fabrication and don’t have the equipment
- Your timeline requires faster turnaround than your team can manage
- You’re developing a metal prototype that involves cutting, welding, and coating
- You want one partner to handle the entire build process
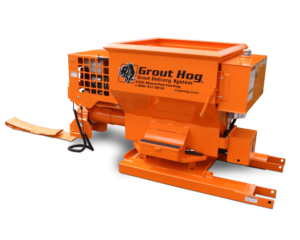
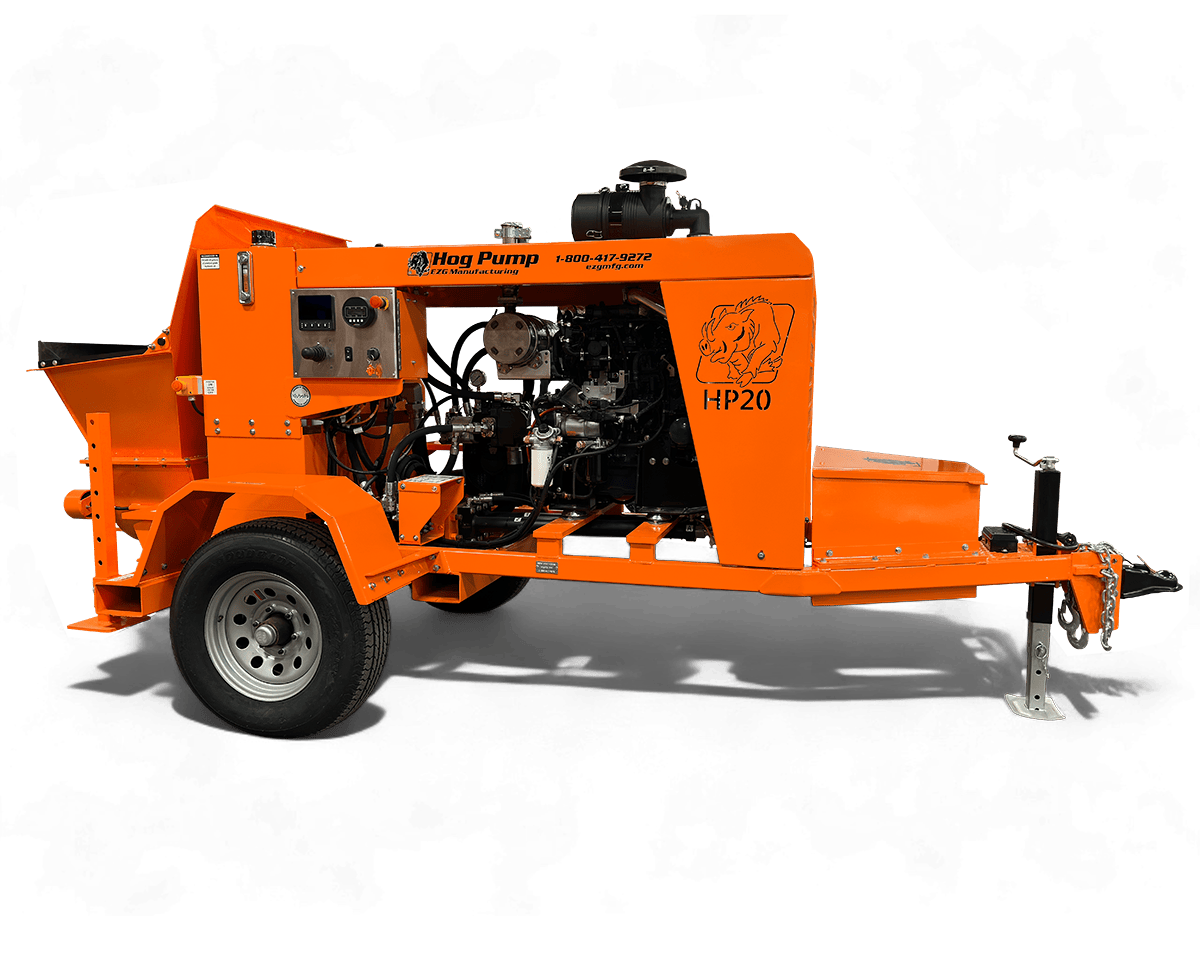
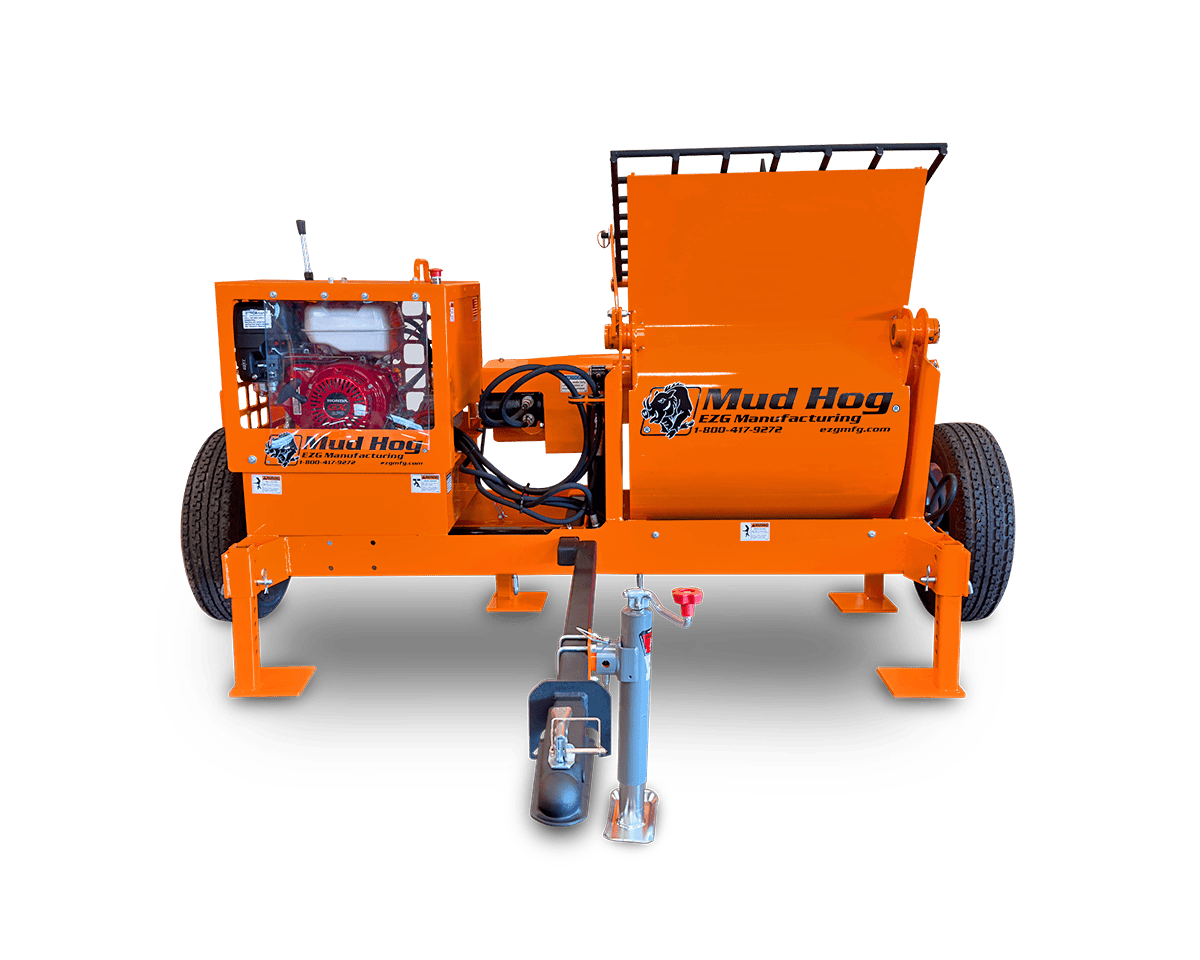
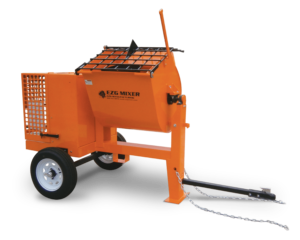
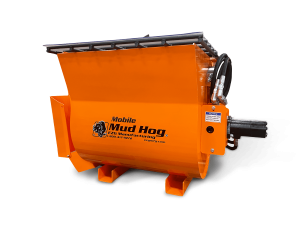
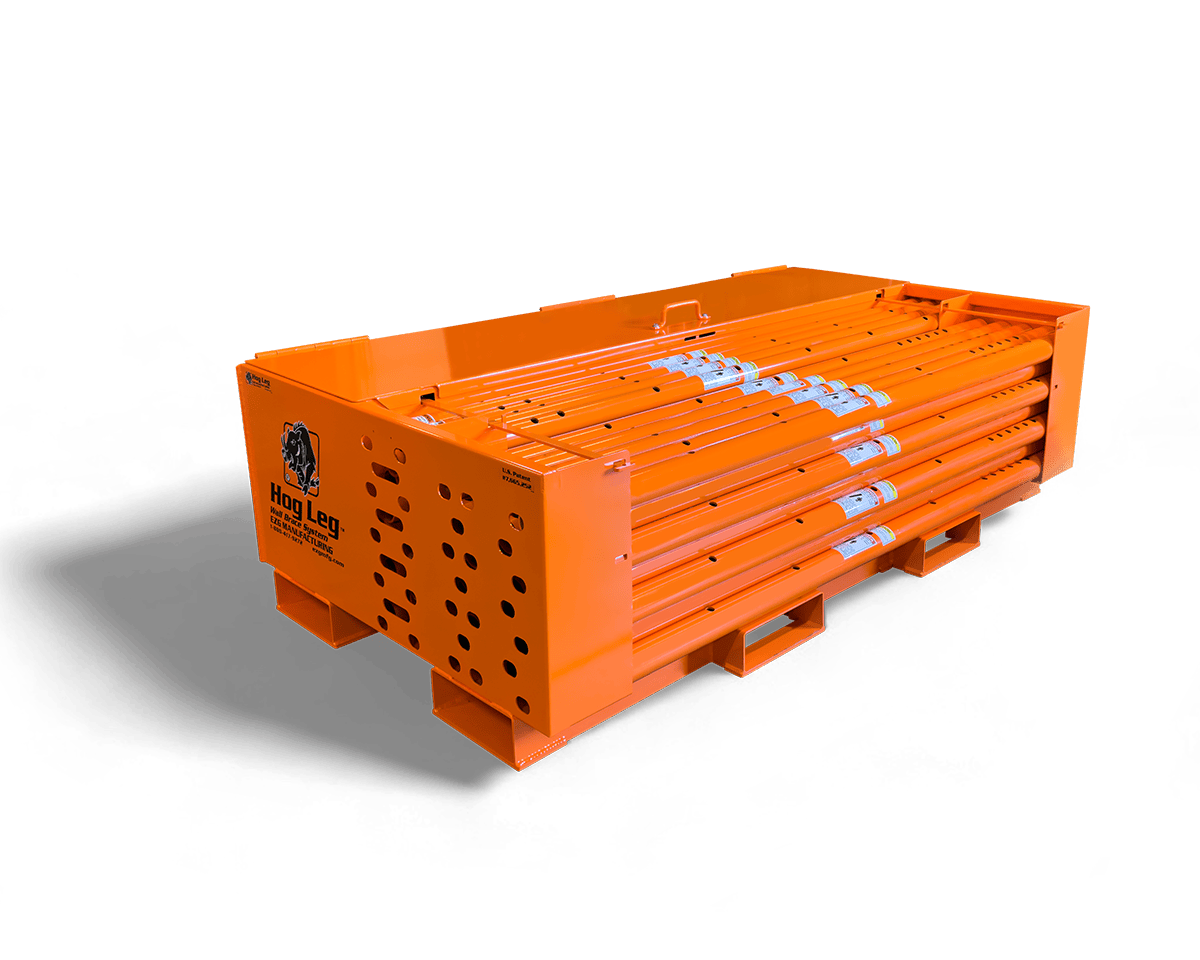
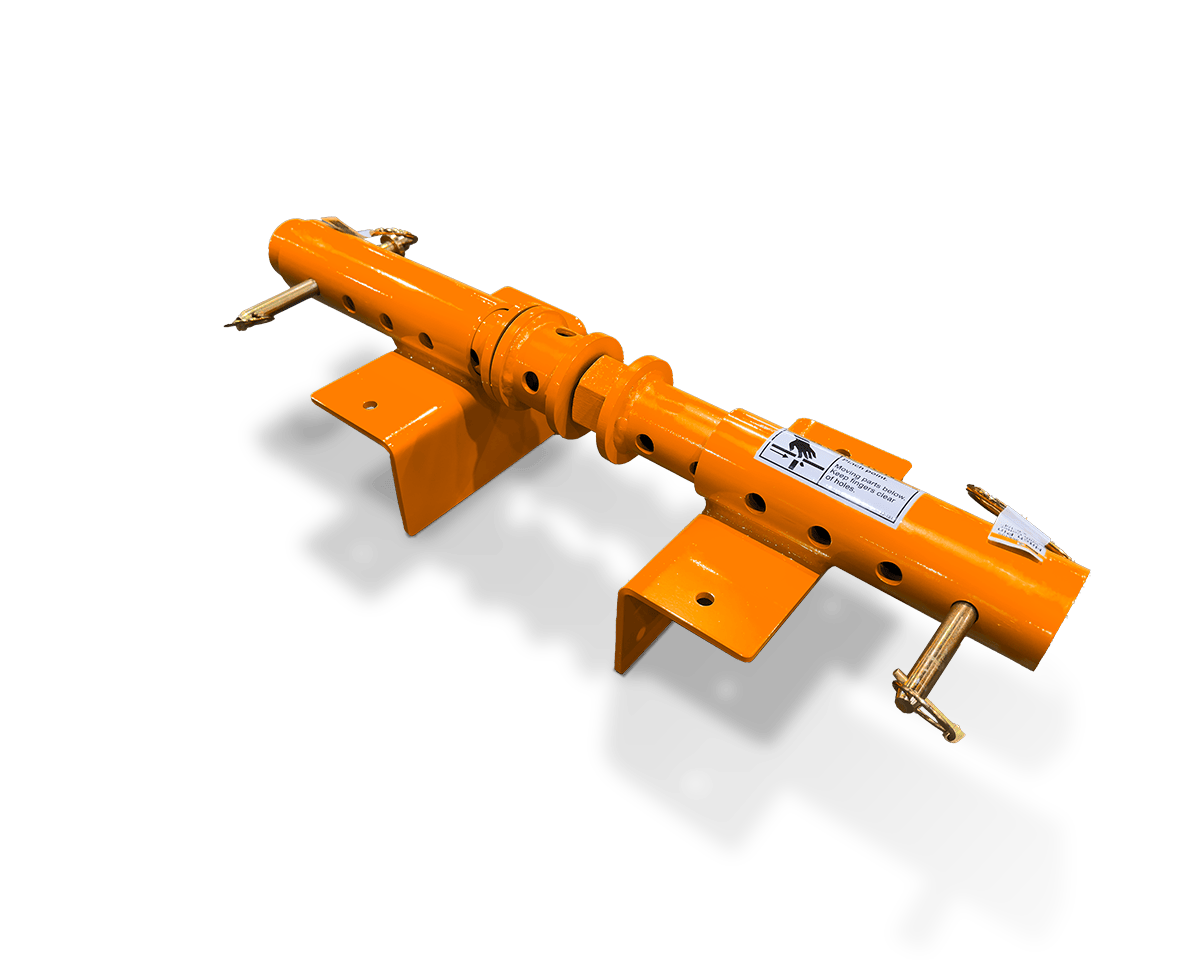
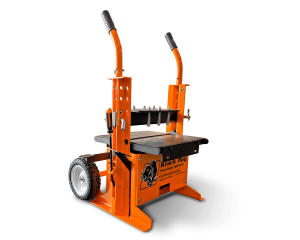
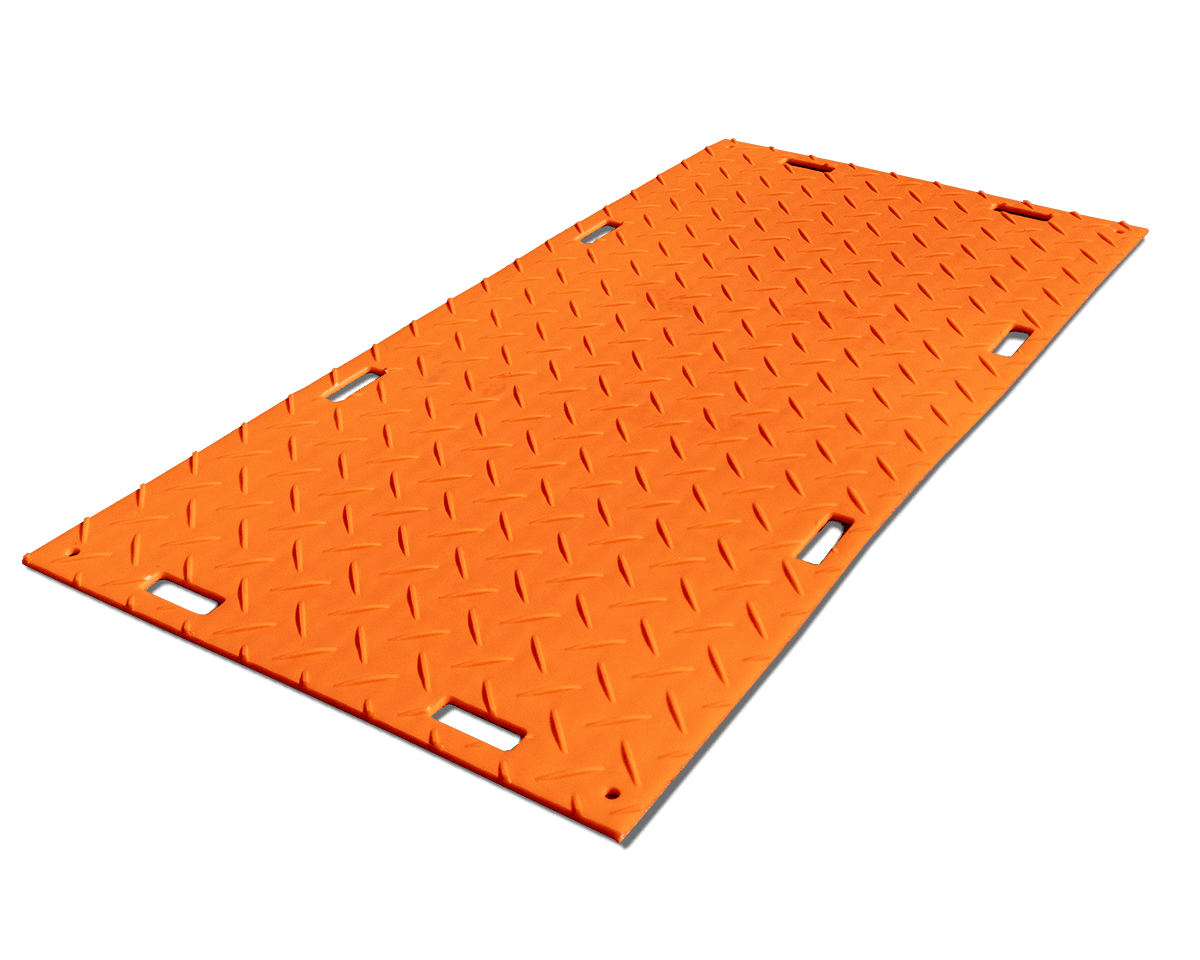
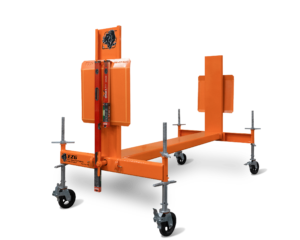
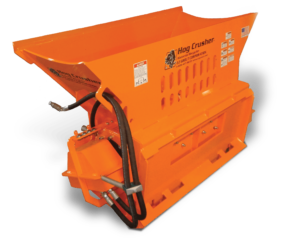
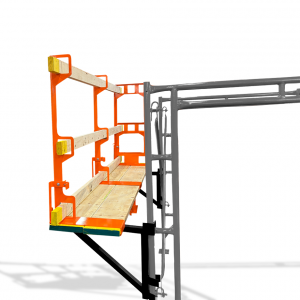
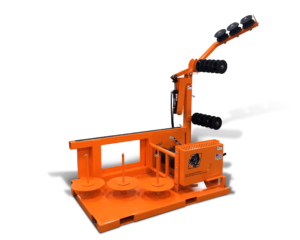
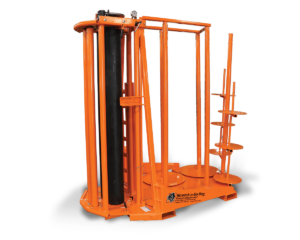
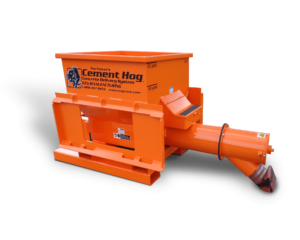
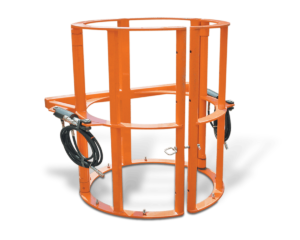
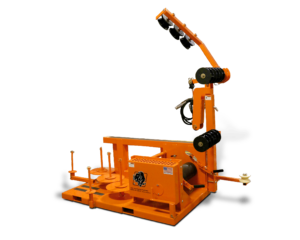
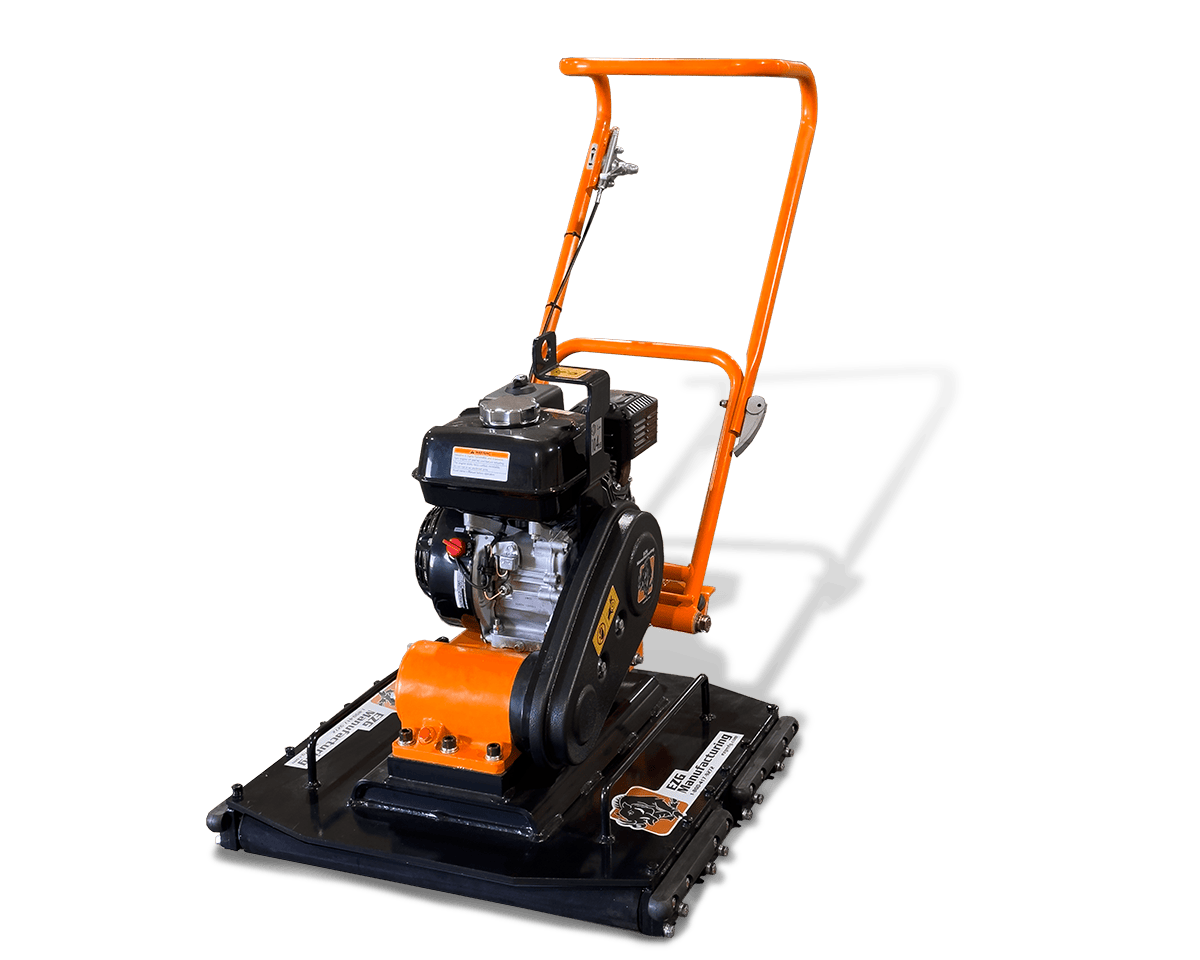
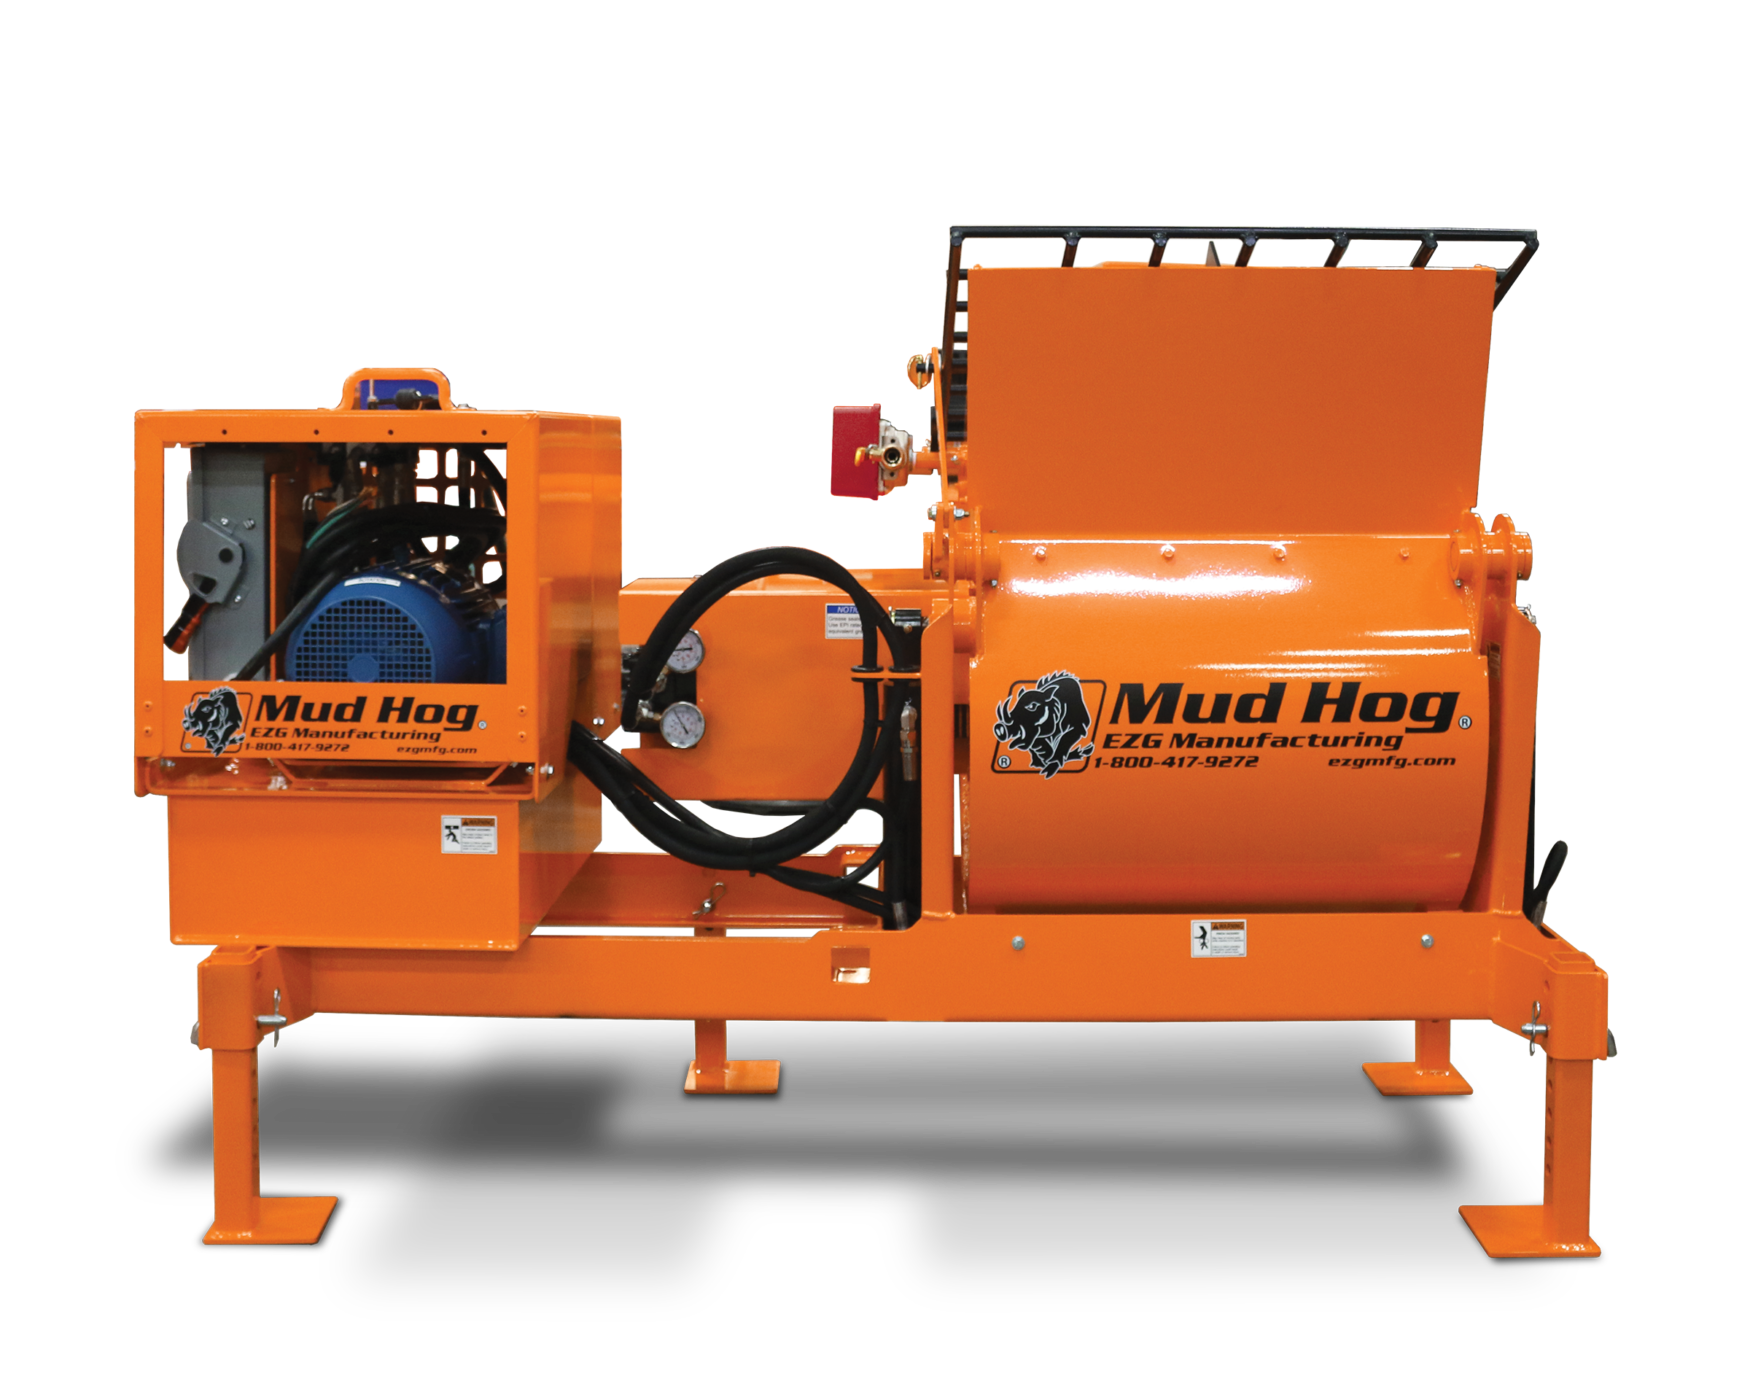
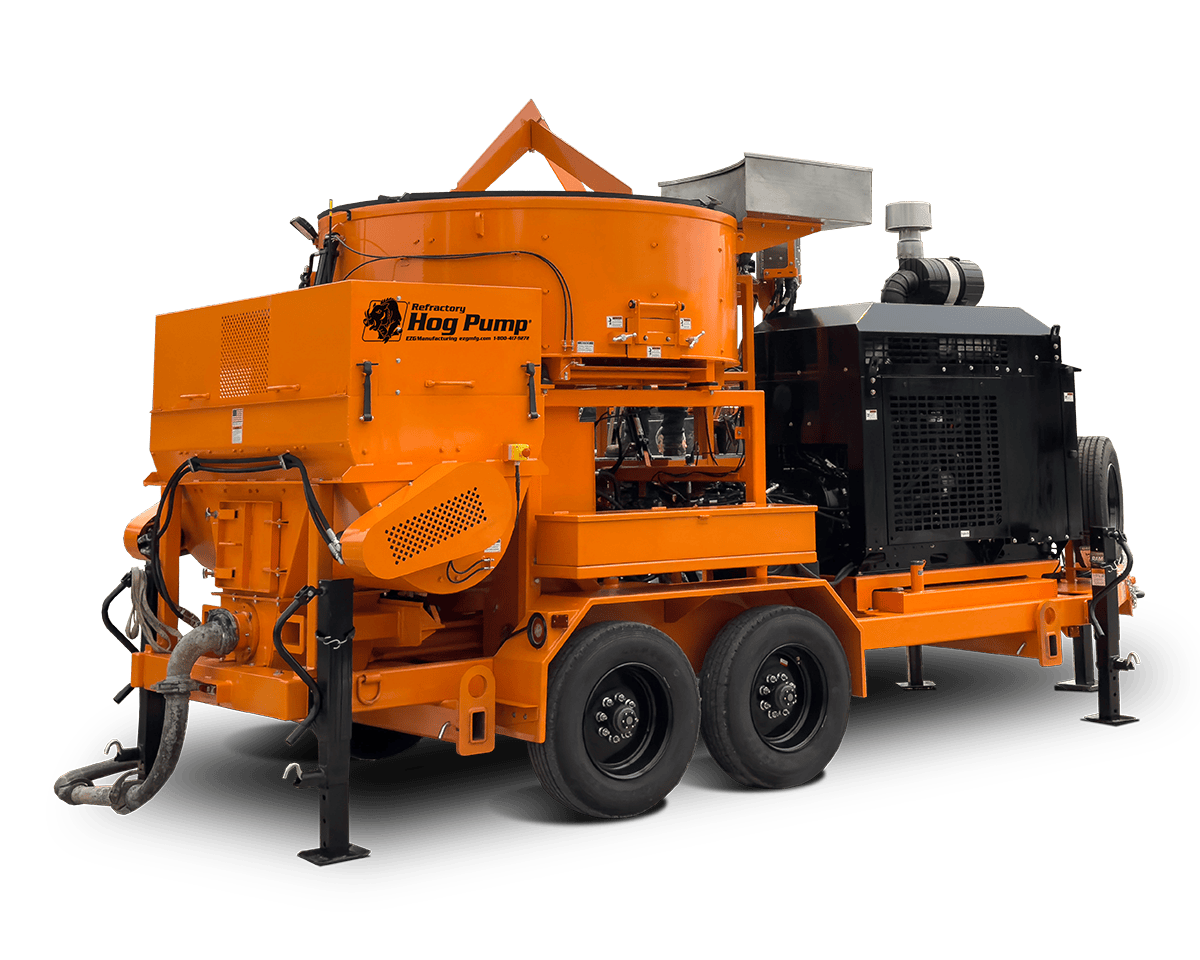
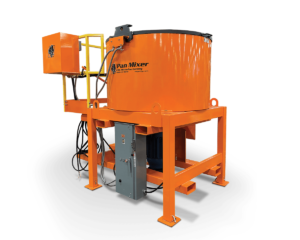
Prototype Manufacturing for Metal Parts: EZG Manufacturing
When precision matters, EZG Manufacturing is a trusted partner.
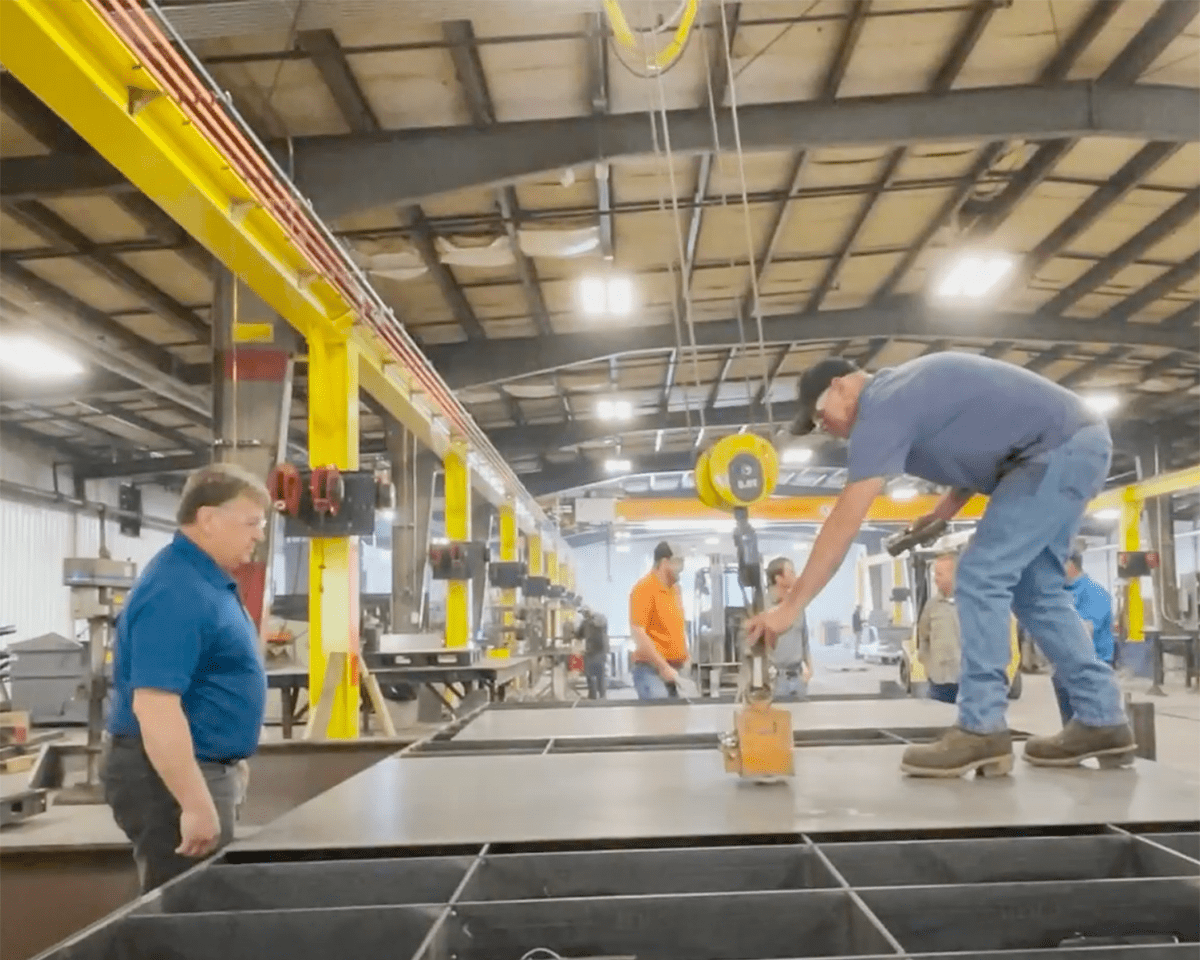
Located in Ohio with over 120,000 sq. ft. of fabrication space, our machine shop offers start-to-finish metal prototyping services. Our in-house capabilities include:
- CNC machining (up to 40 ft. parts)
- High-speed laser cutting with a MAAC 10k fiber laser
- Press brake forming with a 16 ft. bed and 350-ton capacity
- MIG, TIG, and robotic welding by AWS-certified welders
- Powder coating and wet painting
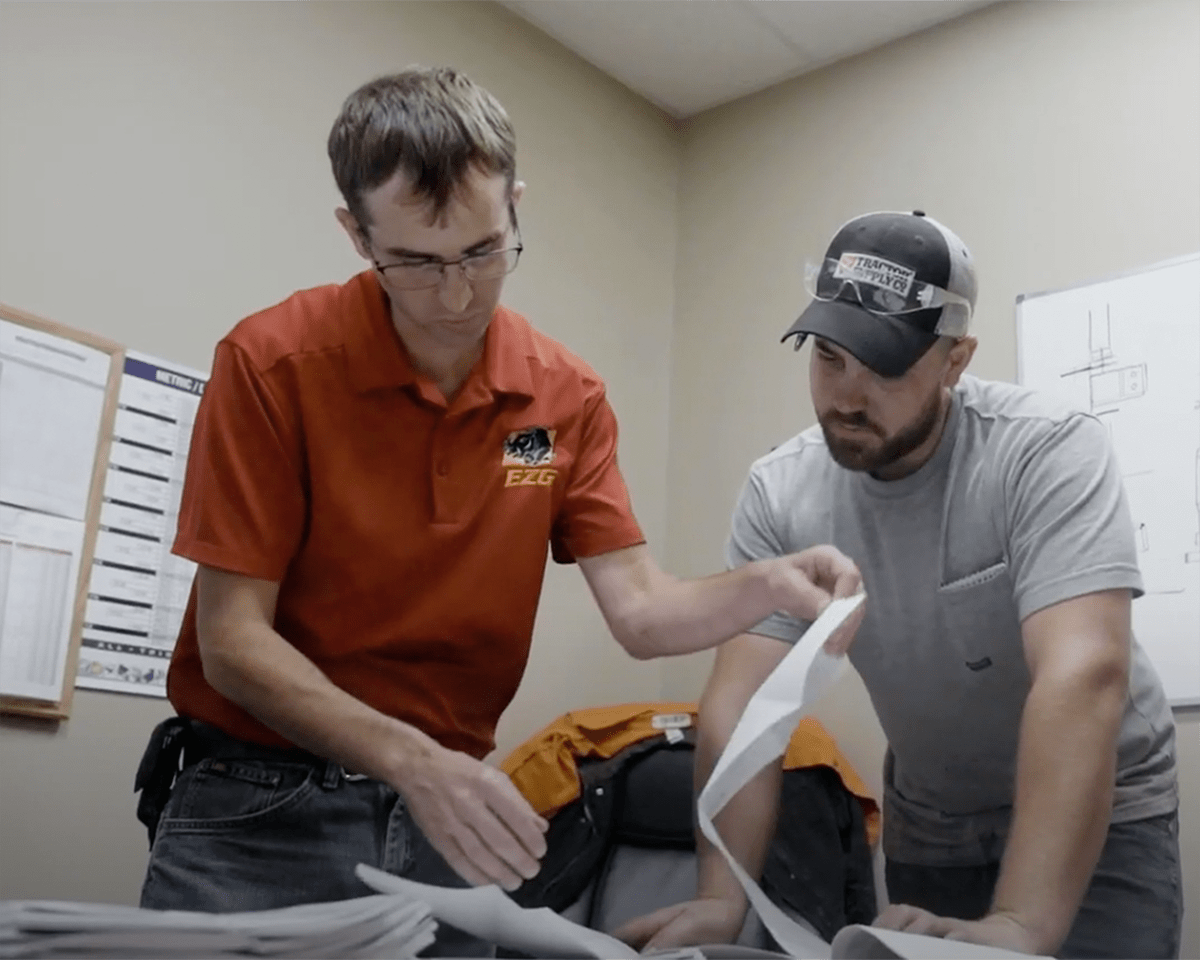
- Engineering support to improve designs for manufacturability
EZG Manufacturing specializes in both small prototypes and large-scale structural builds, all under one roof. With rapid turnaround, durable craftsmanship, and hands-on customer service, we’re built to solve tough manufacturing problems.
Take Your Idea From Concept to First Build with EZG
Contact our team to discuss your design, timeline, and fabrication needs.